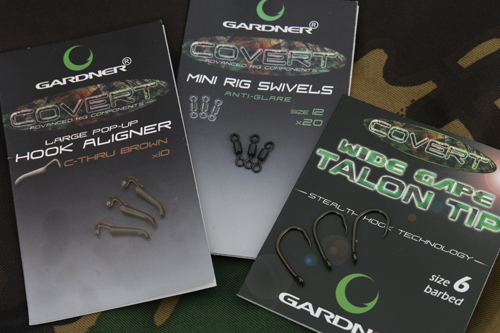
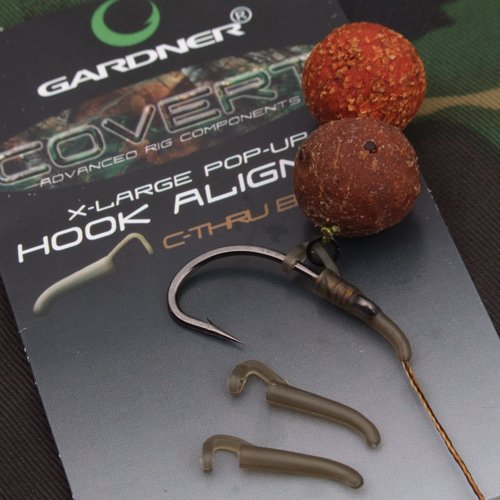
What you need.
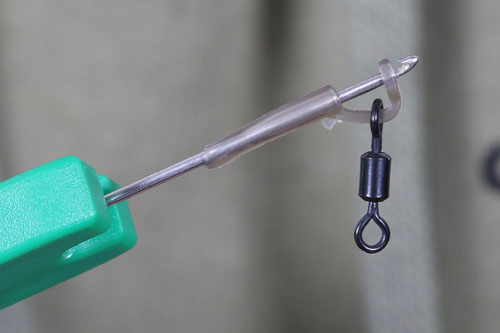
Step 1. Mount a size 12 swivel onto a Pop-Up Hook Aligner (large Pop-Up Hook Aligner for size 6 hooks as shown).
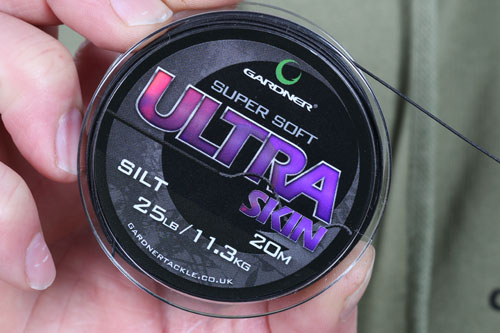
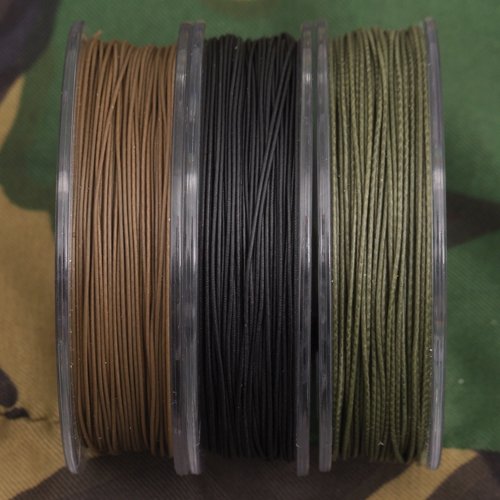
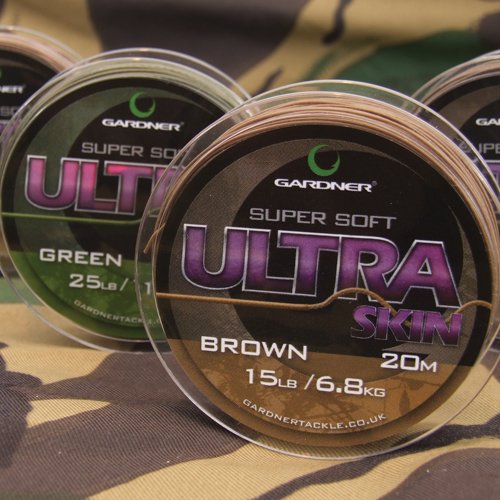
Step 2. Take 40cm of a supple, sinking skinned hooklink, Ultra Skin is ideal.
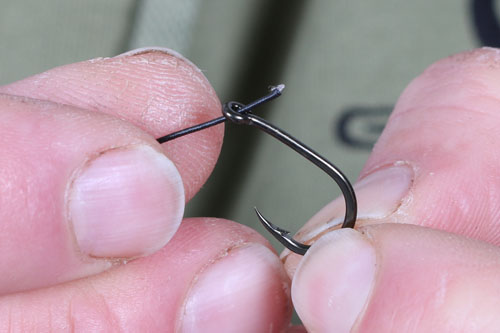
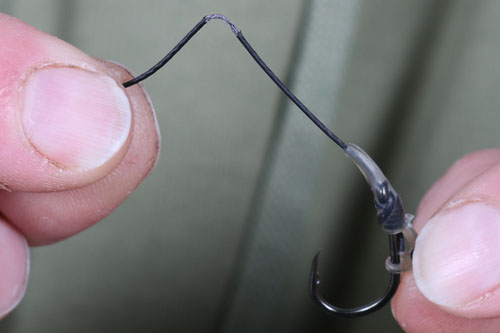
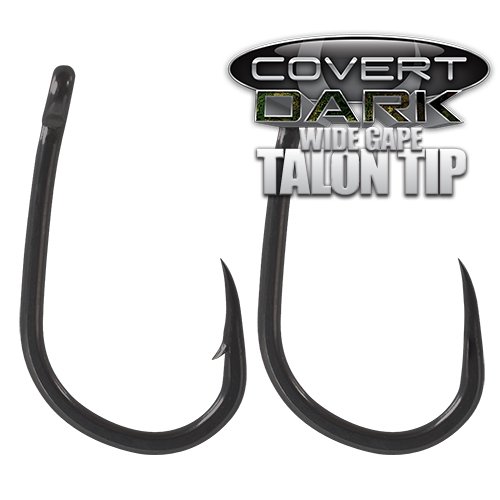
Step 3. Don’t bother stripping it. Simply attach the hook with a simple knotless knot (5 turns is enough).
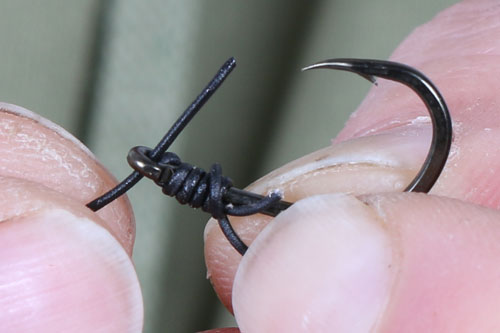
Step 4. With the Knotless knot always have the hooklink coming through the eye towards the hook point (as shown).
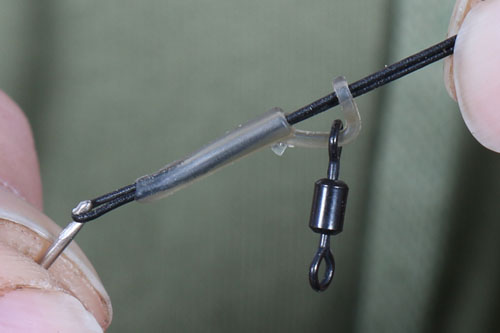
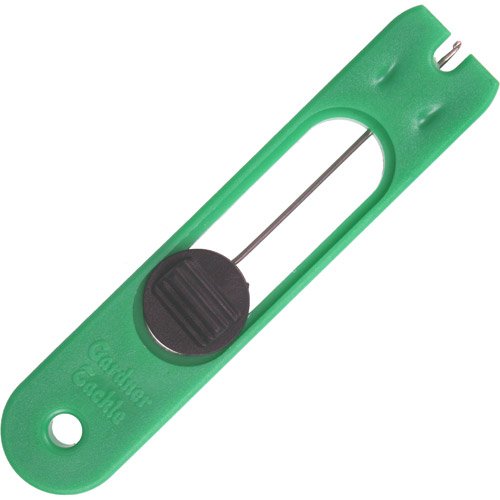
Step 5. Using a boilie needle thread the Pop-Up Hook Aligner onto the hooklink with the D nearest the hook.
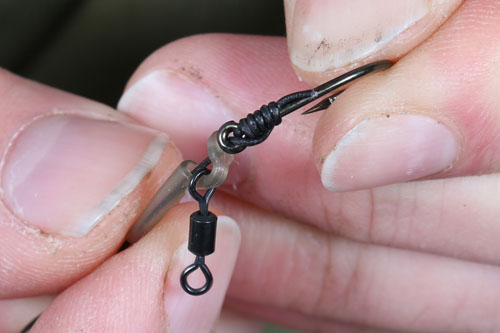
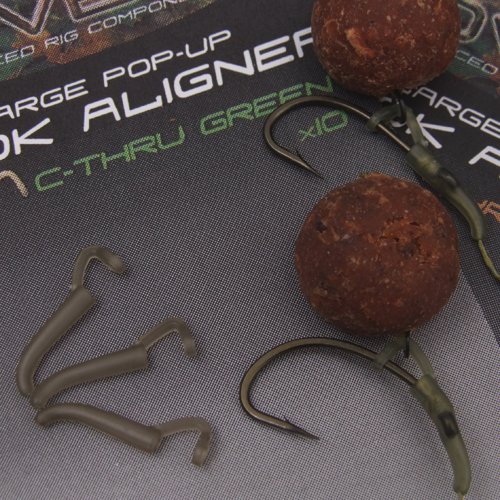
Step 6. Carefully push the Hook Aligner up and over the eye so that the D sits squarely on the back of the hook with the end of the D sitting at a tangent to the hook point.
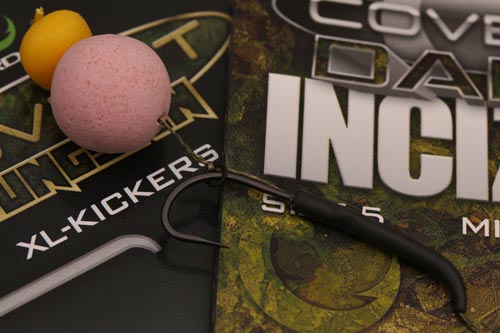
Step 7. It should look a little like this.
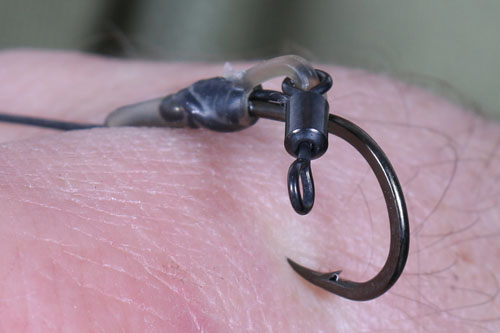
Step 8. The gentle angle of the Hook Aligner helps the hook to flip more aggressively and gives better hook holds.
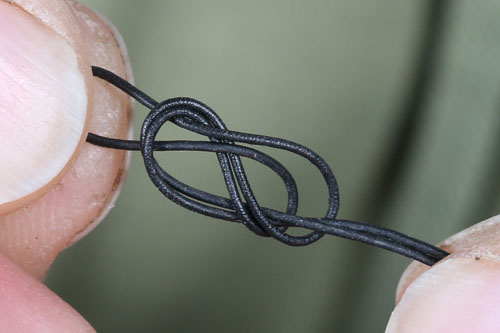
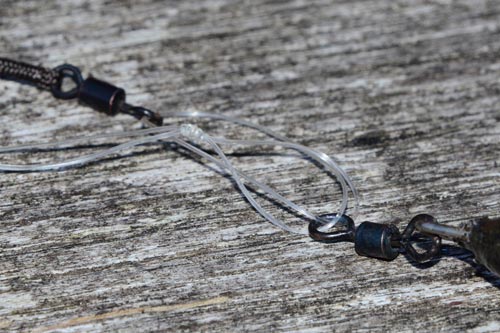
Step 9. To attach the rig ties a fig.8 loop knot, lubricating it with saliva and then pulling it firmly down (using both tags) to bed the knot fully to ensure good strength.
Step 10. To further enhance the way that the hook twists remove a small section of skin 2-3cm from the hook to create a hinge.
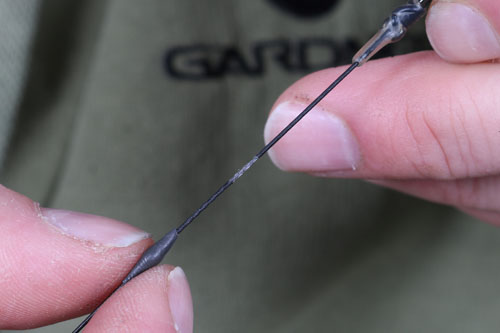
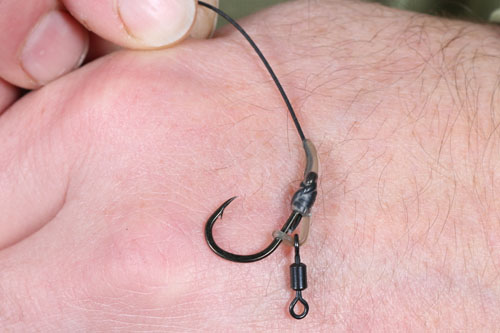
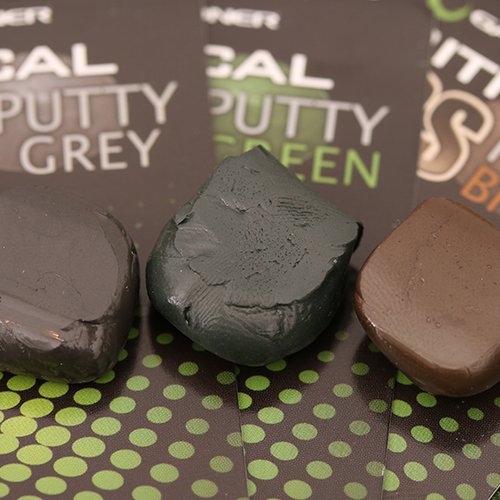
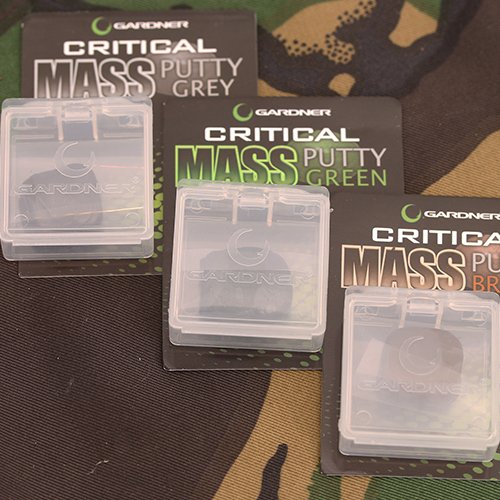
Step 11. Add a small amount of Critical Mass putty as shown, as the added weight helps the hook to pivot and react even faster.
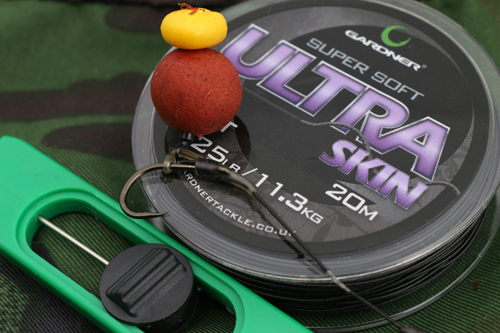
The finished rig.


Leave A Comment