It can take years of personal findings to perfect a rig, but with all the rigs shown in magazines or websites for you to try, I have noticed there’s always something missing… You’re own confidence and understanding! I’m going to take you through my findings from over the years, I will try my best to rub some of my confidence off on you: Mugga blow-back style (even better you will know why the blow-back rig stands so high on my rig list).
I first came across the blow-back rig as many do, by seeing a picture in a magazine (even if it was some years ago now) with its large long curved hook it did seem a little barbaric at the time. My understanding of different hook shapes and patterns was sparse back then, so I made it up with a slightly less cruel looking long shank hook, combi style with a new coated hook-link that was new out at the time (almost orange in colour).
I used this rig for most of my carp angling and I was surprised how many fish I caught using it. I suffered a few fish losses here and there, I knew there needed to be another step forward with the rig? Being an angler who enjoys cold water carping, I slipped up on a big detail some years later, when others seemed hell bent on going in the opposite direction… bait weight! I found odd winter bleeps could be turned into full blown runs, with my rig happily falling to the bottom of the mouth instead of wafting around in the open space of a carp’s mouth. The old thought of, a carp wouldn’t pick up a rig if it weighed more than free bait is poppycock really! Winter carping is all about survival and they won’t swim 6 feet when there is a food item in front of them. At this point I should add that I changed my wafting snowman to two bottom-baits. I found as long as my bottom-bait sat on the lake bed and the hook has all of its own weight to catch on any lumps inside a carp’s mouth. It worked perfectly, or so I thought…
Moving on… I fished a very small and intimate stalking lake, where I was able to observe the fish and how they reacted to rigs in the clear water. Through my observations, I soon noticed that many fish were unable to get the rig into their mouth. It seemed the stiff section of the combi-rig hampered the rig somewhat (just think what could be going on in open water?). Coming at the rig face on, they sucked and were soon hooked. This problem drove me mad for months to be honest. During the following spring, I soon found a solution to the problem. Just before I joined Patshall Park’s Church pool, I came up with a coil set up, which was very simple really consisting of a soft braided blow-back rig. I used a dissolving foam nugget to pop the hook end of the rig up. As the the lead landed into the silt, the foam dissolved and the rig sat coiled up over the sunken lead that was hidden in the soft silt. Fishing in this way gave the hook bait the same freedom a free boilie has and whichever direction the carp approached the hook bait, the rig could find a free easy route into its mouth.

My time on the Church was crazy and I managed 53 originals in less than 5 months, with many multiple catches. Big hits were unheard of on there, so as you can imagine my confidence in the set-up sored! It wasn’t all plain sailing though; as I waded through various hook patterns and different lengths of shrink tubing, just to get a hold on why I hooked this fish there and pulled out of that one. Some hook patterns gave a great amount of runs, but I found that if I closed the gape of the hook off, I ended up hooking the carp in the hard bone in the front of the mouth. If you have you ever heard ‘those hooks are crap’ when a rig is reeled in after a fish loss, with the hook opened out and the point bent over? This often means the rig make up isn’t quite right and the carp are getting lip hooked in the bone! Not a good place for a hook-hold at all!.

The more bites I had over the next few years the easier it became to fine tune the hook choice. I’m a fan being a fan of a long-shank hooks and I found this to be a good choice for a number of years, however I still suffered the dreaded hook pull from time to time. The long-shank seemed to hook a little further back in the fish’s mouth as they seemed to flip over as the shrink tubing hit the lip on the rigs exit. This hook pattern gave a crazy amount of bites, but in the same breath, losses still came once in a while (In conjunction with a pop-up rig they worked even better tbh!). I did a whole winter on beaked pointed hooks and never lost a single fish, used in-conjunction with same braided set-up with the gape left open. I still suffered the odd tell tail bleep, with my bobbin hanging like a monkey in a tree and on several occasions it was evident that I’d been done! You may be thinking ‘poor chap!’ as you read this, but don’t be fooled I was absolutely caning every water I fished with this coil set up, and believe me many anglers couldn’t cope with it and a lot of back biting came in my direction!
I was now piecing together a real picture of how my coiled blow-back was working, and how three eights shrink tube worked when compared to half inch or more (sorry about that I don’t do millimetres). After getting so many great hook holds on a mega sharp curve point hook, I started to understand the difference between the hooking and hook holds. I found the curved point on the angle of pull, hooked the flesh and started to curve back; missing the bone and harder lumps in the carp’s mouth, but I couldn’t ignore the fact a straight point gave the best pricking. It then dawned on me that I would get the same effect by not having the curve at the point, but in the shank. Pulling from the eye these have the same effect as the curve point; pulling the sharp point away from the bone as the pressure is applied by the angler!
Hook sizes!
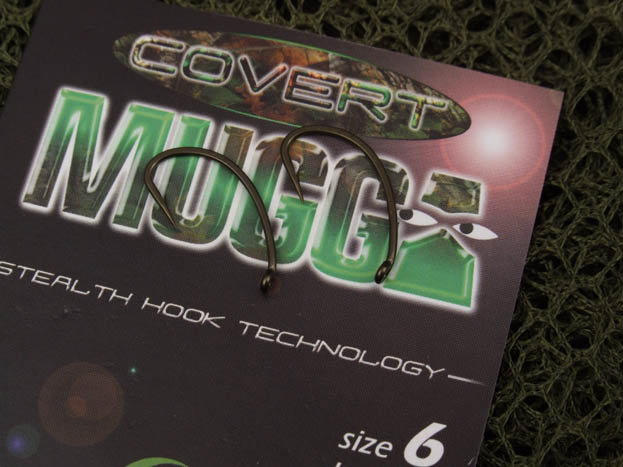
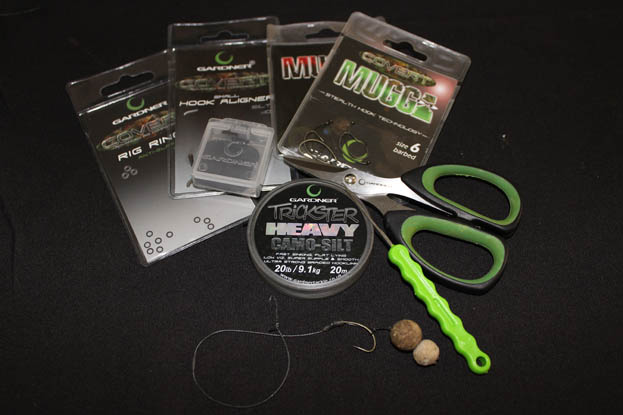
After playing around with various sizes, I soon settled on size 6 curve shanked hook and from that day on I never looked back. To be honest I really can’t remember losing a fish in open water due to a hook pull whilst using them. Even with weeded fish I land very near 100% as the hook-holds are that good on these Mugga hooks. With their interned eye you can almost do away with the shrink tube and the like. Personally I like to incorporate a piece of shrink tube or a Covert Hook Aligner nowadays, as it prevents the small rig ring getting stuck on the knot. I found hook size to be very important in any given pattern, even with curve shank hooks, the size of the hook can have its drawbacks. If used in a size less than 10, it almost tries to pull out of the carps mouth, so it comes back to needing your pound of flesh with this pattern! Where the curve shank fails in small sizes, a wide gape beaked point pattern can come into their own, as in the smaller sizes they don’t have such a wide gape. They seem to miss the bone and give a great hook-hold, where the curve patterns try to pull out! So as you can see size and pattern go very much hand in hand with the method your using.
Just in-case you got lost along my journey, I will take you through how to construct the rig. As explained earlier with the supple braid coiled up, the rig shoots into the carp’s mouth, just like free bait sat on the lake bed. With the hook end slightly heavy it wants to fall straight to the floor of the mouth; leaving the gape of the hook open, it catch’s on any lump that it’s moved across. Most of my hook holds are at least an inch back in the mouth, on the hard pad that sit where our tongue is. If it doesn’t catch there it still has its chance as it flips and turns on its exit near the lips, as most rigs do. However, with the rig set like this, it gives me double the chance on every take of getting a hooked fish! Whilst stalking this year I have witnessed carp time after time get hooked on their first suck of this rig and once more they stay on till they hit the net too! With everything said about this rig, it’s only a small part of putting fish on the bank, fish well and this rig will keep its end of the deal for you!
How to Tie Nick’s Mugga Blow Back rig
Step 1 – Using a needle, tie an overhand loop in a length of 20lb Trickster Heavy (this is for attaching the bait).
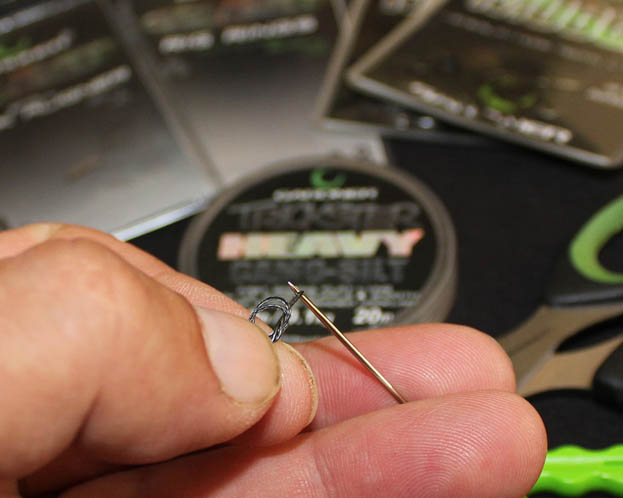
Step 2 – Thread on a rig ring as shown and tie a second overhand loop. Now you are ready to measure the length.
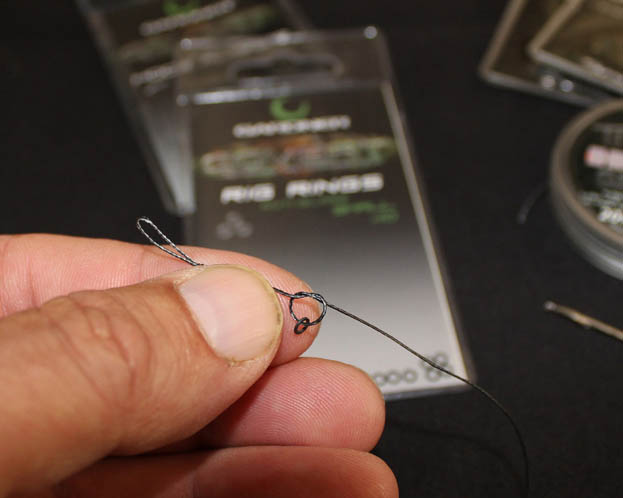
Step 3 – Place the rig ring just above the barb of the hook.
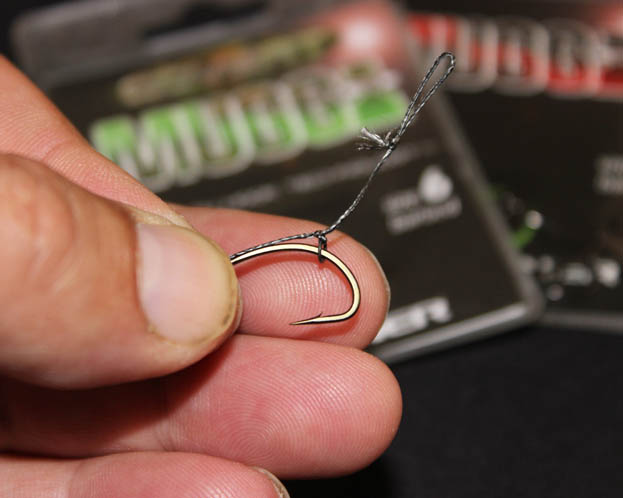
Step 4 – Whipping towards the smooth side of the join in the eye of the hook first, I whip seven times up the hook!
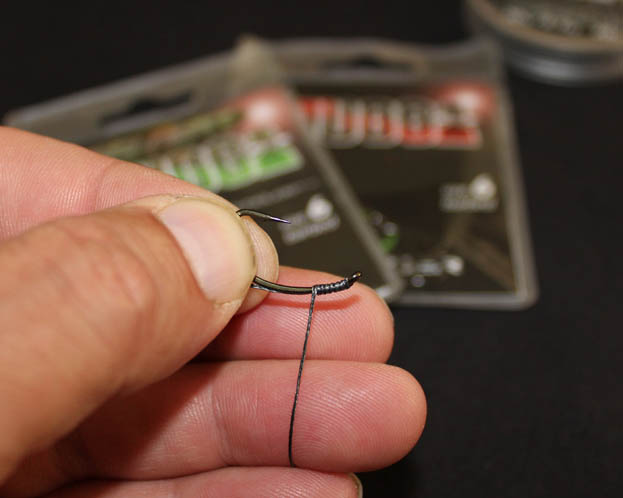
Step 5 – Pass back through the eye and snug down.
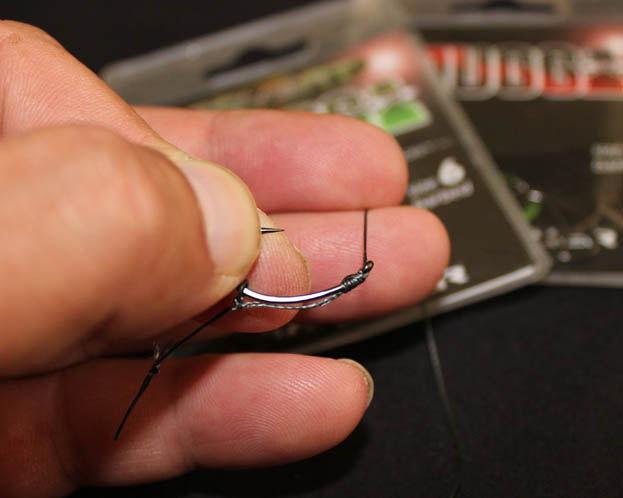
Step 6 – The rig should look like this now…
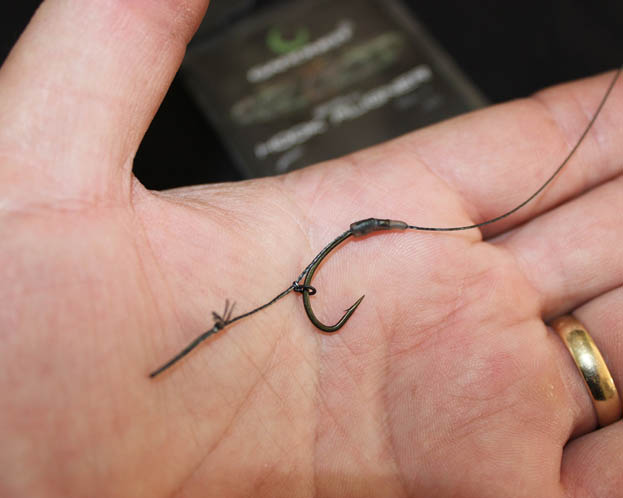
Step 7 – Nice and neat and a small tag end is left.
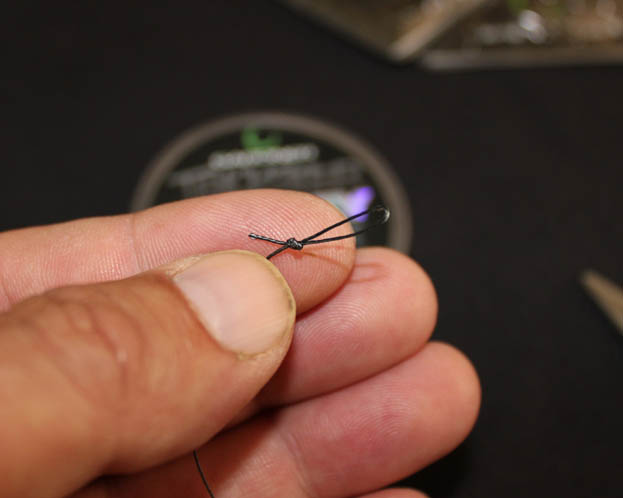
Step 8 – A mouse dropping of Gardner Critical Mass Putty helps the supple braid sit right.
Gardner Critical Mass Putty helps the supple braid sit right.” src=”https://gardnertackle.co.uk/wp-content/uploads/2014/11/Step-12-A-mouse-dropping-of-Gardner-Critcial-Mass-Putty-helps-the-supple-braid-sit-right..jpg” alt=”Step 8 – A mouse dropping of Gardner Critical Mass Putty helps the supple braid sit right.” />
The finished rig


how long do you usually have the rig?
Hi Matt
No specific hooklink length is stated in the article because you need to adjust to suit specific lake bed conditions. Thicker/softer silt will obviously require a slightly longer hooklink than casting onto a firm lake bed.
As a very general starting point, we would suggest using as least a 12 inch hooklink on a very soft lake bed and 8 or 9 inch hooklinks on firmer lake beds.
Hope this helps,
The Gardner Team
Thank you for this! I have always used a long shank style hook, but I love the muggas for my pop ups!
I shall definately be making this one up and using in the future, going to order some size 6 , any preference on bait size on a size 6?
Thanks
Hi Martin,
Anything from a 12mm upwards would be an ideal size. The most important thing is to use a pop up that is buoyant enough to keep a size 6 held up perfectly for any length of time, without it loosing it’s buoyancy. A cork ball pop up is perfect for this.
Hope this helps,
The Gardner Team