


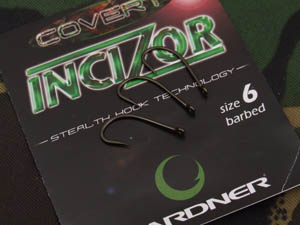
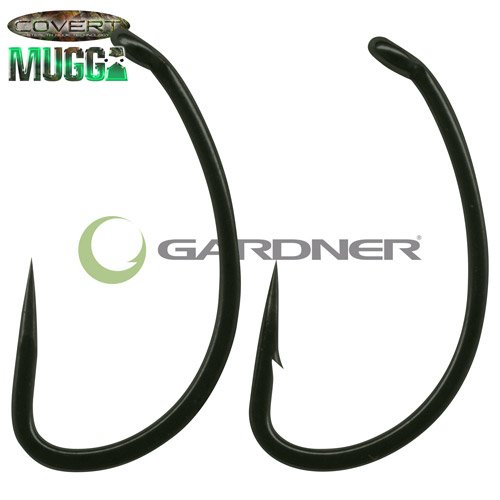
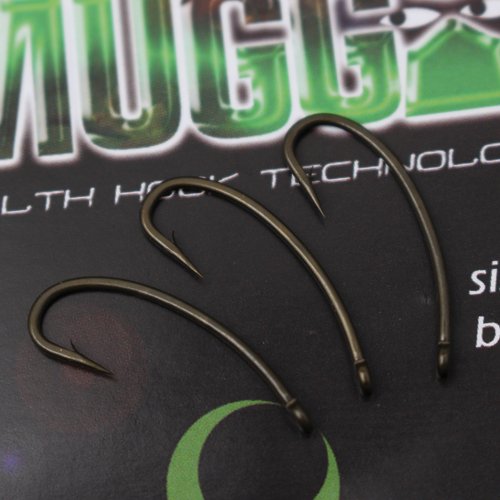
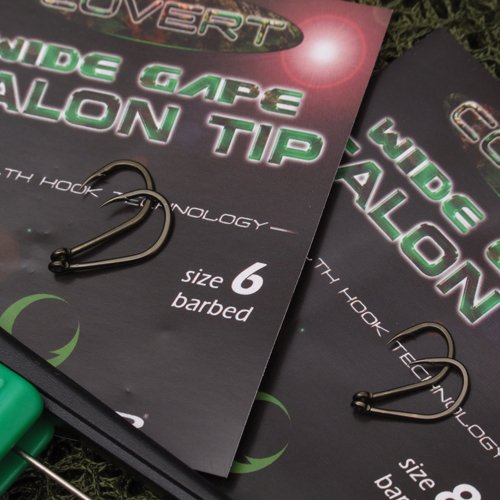
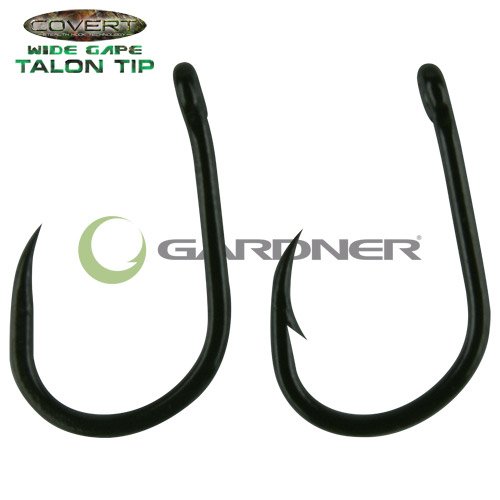
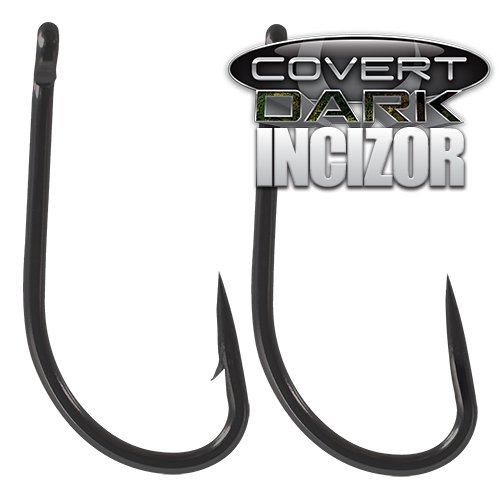
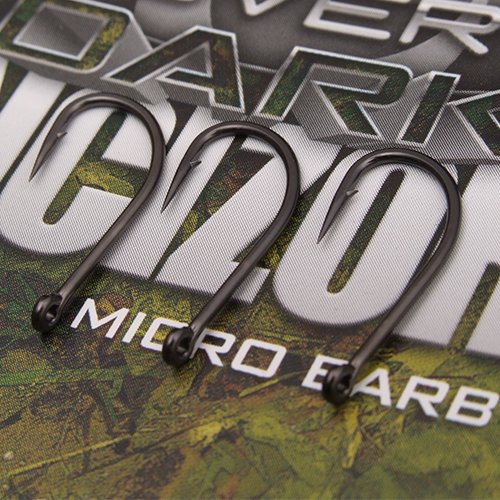
A superbly versatile shape with the Covert camouflage plated finish.
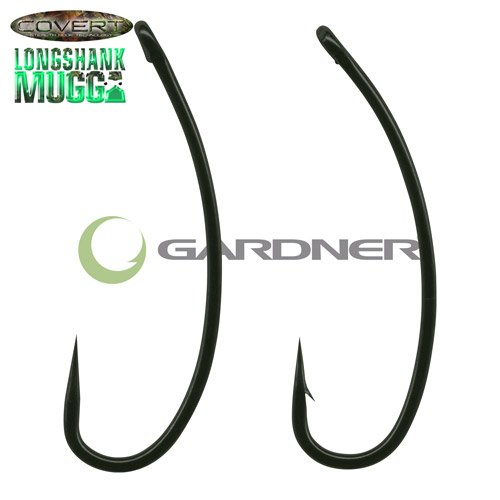
The Covert Incizor pattern lends itself to a huge choice of rig options – the straight eye means that you can use them with stiff ‘Trip Wire’ style hooklink materials on Chod rigs and other similar D-rig presentations. You can confidently use them with Fluorocarbon hooklinks, or with the addition of a small shrink tube kicker combine them with braided and skinned hooklinks.
In fact these are the No1 hook pattern choice for the team here at Gardner when we use the excellent Covert Hook Aligners as the finished rigs turning aggressively, with the hooklink exiting the Hook Aligner at the optimum angle and the perfect distance from the hook point.
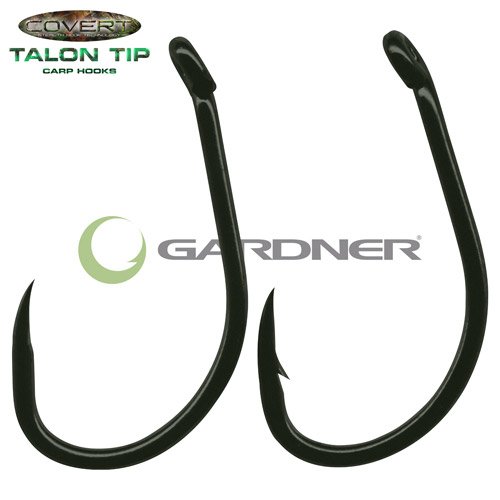
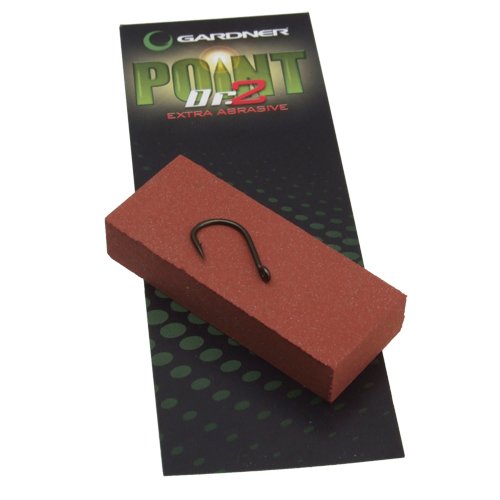
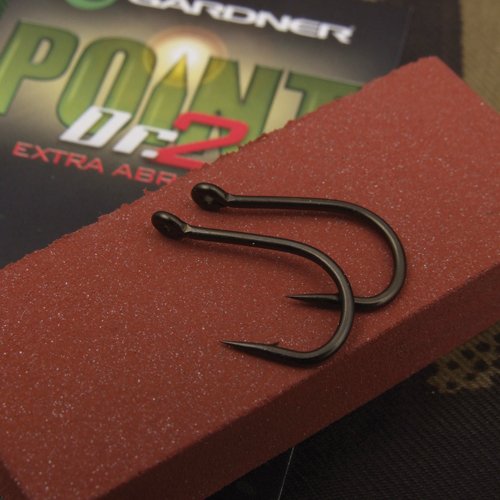
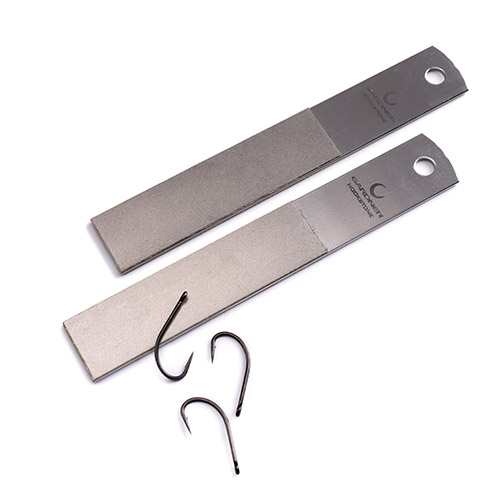
The point is durable thanks to double tempering the highest quality Carbon Steel and the non-reversed bend and general dimensions of the Incizor mean this pattern will remain the hook of choice for a great many discerning anglers around the world.
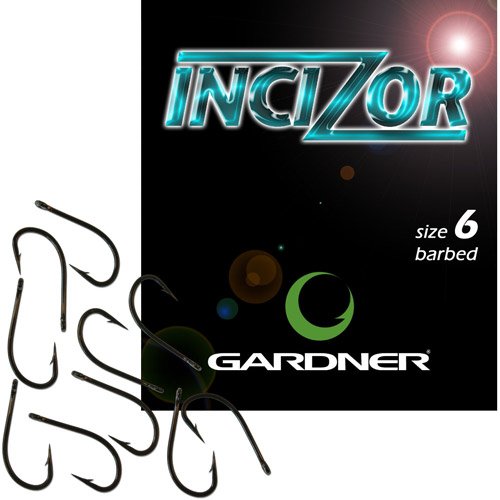
- Available in in Barbed or Barbless. Please check table below for sizes available.
- 10 hooks per pack.
| Size | Barbed | Barbless |
| 4 | CFWH4 | N/A |
| 6 | CFWH6 | CFWHB6 |
| 8 | CFWH8 | CFWHB8 | 10 | CFWH10 | CFWHB10 |
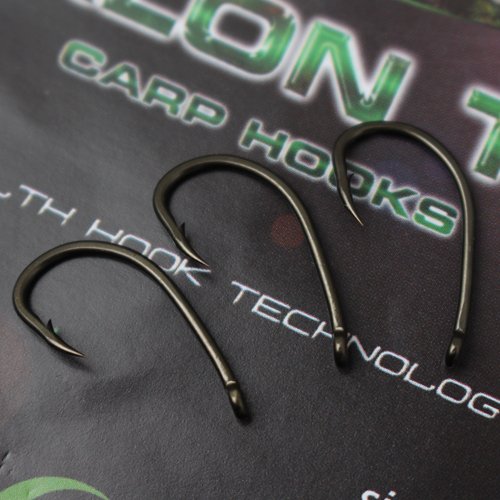
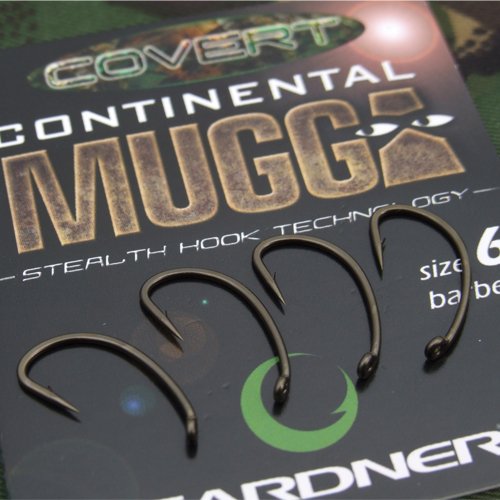
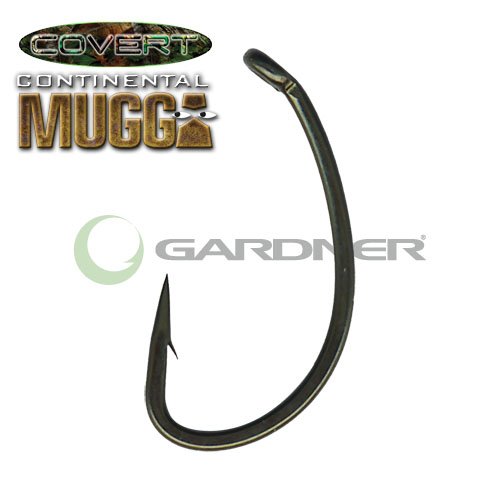
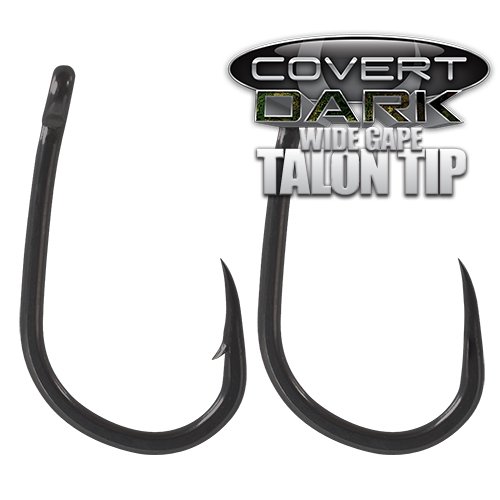
By applying a technically advanced, anti-glare plating system, we’ve taken camouflage to a completely new level.
The problems associated with pale Teflon coatings – the tendency to rust around the eye, prominence on dark lake beds and added bulk to the hook dimensions are now eradicated once and for all.
Covert stealth plated hooks offer improved camouflage, sharper points and better performance than ever before.
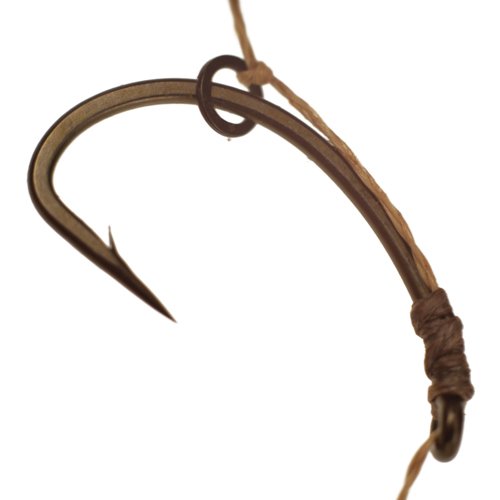
‘Clone Rig’ step by step guide:
-
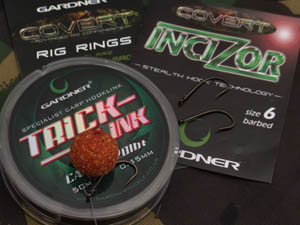
- The hook of choice, the amazingly versatile Gardner Incizor is perfect for the Clone (D) rig.
-
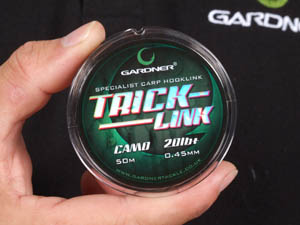
- Step 1 – The Clone can be tied with all sorts of monofilamants, but our current favourite is our excellent Trick Link material – made for the job…
-
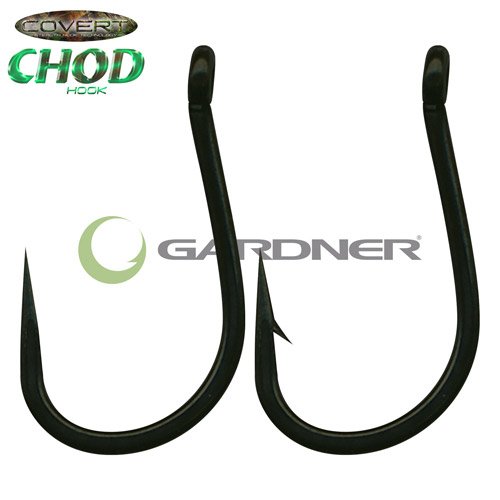
- Step 2 – There are two patterns of hooks in the Gardner range suited to use in the Clone rig – the Covert Incizor or the Chod Hook. We favour the straight eyed Incizor.
-
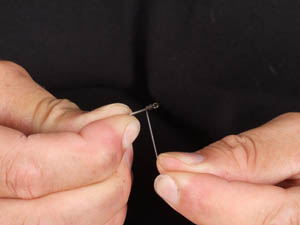
- Step 3 – All you need to do is tie the hook on using a simple (reliable) knotless knot.
-
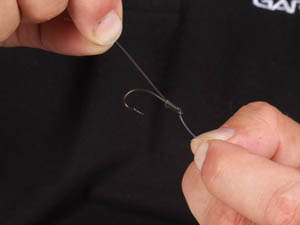
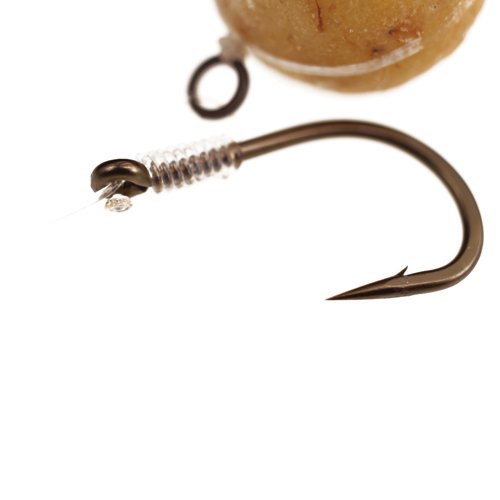
- Step 4 – The finished knot should look like this, with between 6 and 8 wraps neatly abutted and the hooklink exiting the inside of the hook eye.
-
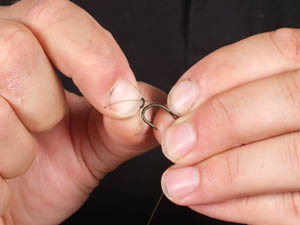
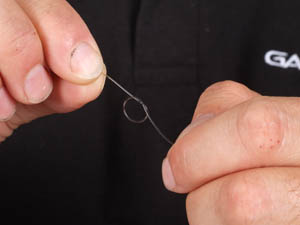
- Step 5 – Thread a large Covert Rig Ring onto the tag left from the knotless knot. You will attach your hookbait to this rig ring later…
-
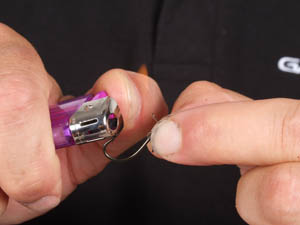
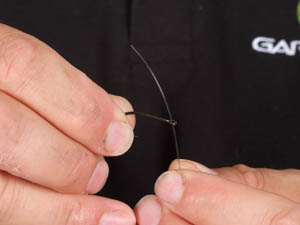
- Step 6 – Create a ‘D’ in the monofilament by passing it back through the eye of the hook and ‘blobbing’ the end with a lighter. Take care not to burn or damage the hooklink or the knot itself.
-
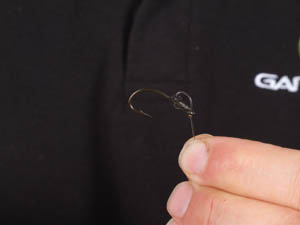
- Step 7 – The hook and ‘D’ should look a little like this. A nice tidy D that sits squarely on the back of the hook shank. If its twisted (after pulling the knot tight) simply turn it so it is…
-
- Step 8 – We favour a Non Slip loop knot at the lead end of the hooklink as it offers a little more free movement to the hook bait when it’s inhaled by feeding carp. Start with an overhand knot.
-
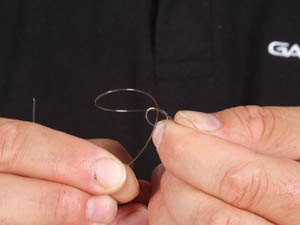
- Step 9 – create a loop and pass the tag end through the overhand knot in the opposite direction and finish off with a blood knot (tag passed through original overhand and tightened using tag only).
-

- Step 10 – You should be left with a really nice loop knot like the one shown (if the loop twists you have pulled on the loop whilst tightening down). Trim off the tag 2-3mm from the knot.
-
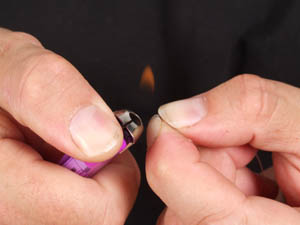
- Step 11 – Use your nails to sheath the knot and hooklink and carefully blob the tag of the loop knot. This secures the knot in the event of you applying very heavy pressure.
-
- The finished rig. If you use a slow (balanced) sinking hookbait the rig will always lay out nicely and reset if a fish samples it.
You must be logged in to post a review.

Reviews
There are no reviews yet.