The simple approach will nearly always catch you fish, but now and again we may come up against particularly tricky fish. In reality they aren’t hard to hook because they are super intelligent – far from it in fact! Normally it’s just because of the way the fish are feeding on the bait.
Quite often this can be because the carp are keeping their mouths tight to the lake bed and using the extendable top lip to carefully manipulate the bait under their over slung mouth where they carefully suck up the freebies sifting out bottom debris and anything that feels unnatural. In fact most the time when fish are deemed to be tricky it is because they are feeding tight to the lake bed in one way or another.
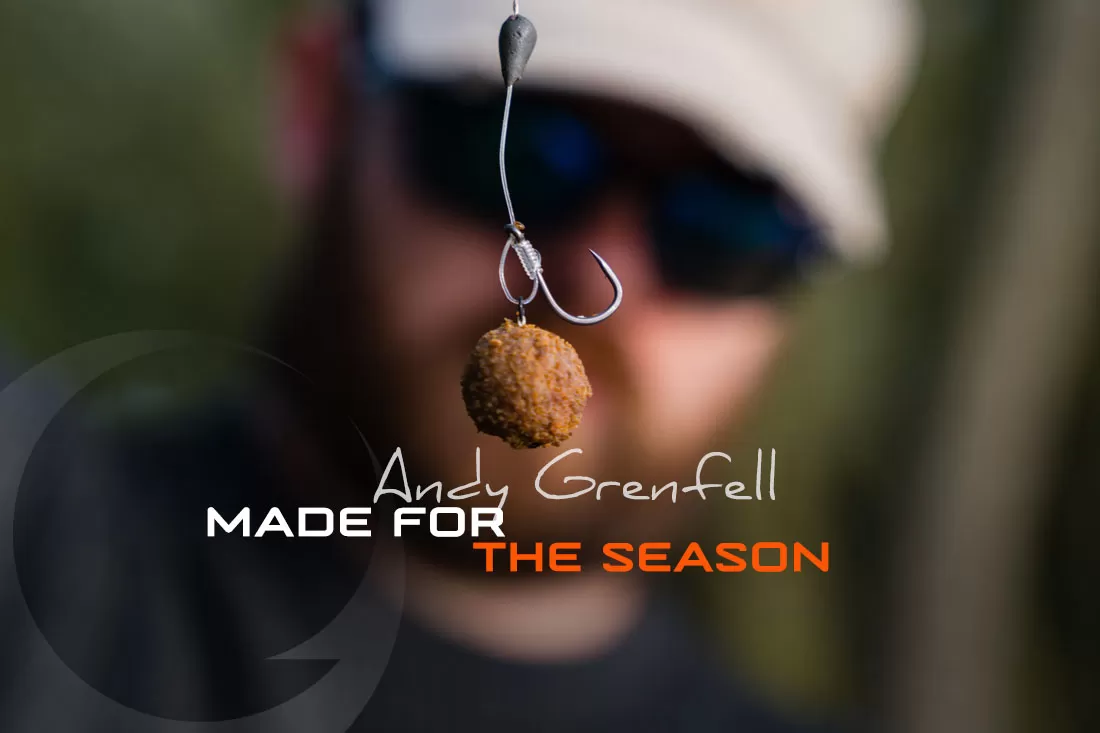
One of the most consistent ways of hooking carp feeding like this is to mount a ‘balanced’ (slow sinking) hookbait on a D-rig.
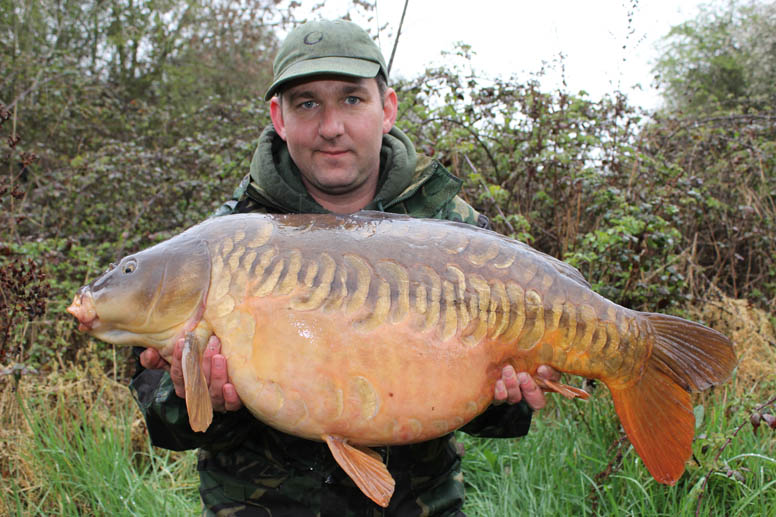
The D-rig keeps the hookbait close to the eye of the hook – in a position that ensures the hook goes into the fish’s mouth even if it tentatively inhales hookbait. The added buoyancy added to the hookbait to make it ‘balanced’ can be achieved in a number of ways; from making or buying your own ‘wafters’ to using a snowman setup that incorporating either a small pop up, a piece of foam or a piece of plastic Enterprise sweetcorn. Alternatively drilling out the bait and plugging it with a piece of our highly buoyant Zig foam works a treat and keeps the hookbait looking more like any freebies.
This is a great method whether you are using boilies or particles, summer or winter.
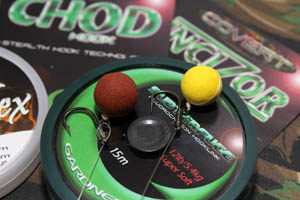
D-rigs can be tied with either fluorocarbon or a copolymer, using a straight pointed hook – preferable a pattern with a straight eye or slightly out turned eye (either an Incizor or a Chod hook). With these materials the finished rig ends up very subtle looking. This rig camouflage is enhanced by using a slow sinking hookbait as it tends to settle over the hook – and what better camouflage can there be than that!
Tying a D-rig
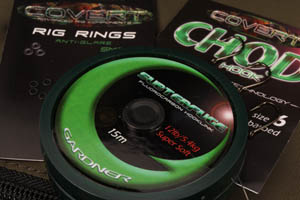
What you will need…
Step 1 – Start of with a knotless knot – for D-rigged bottom baits and our chod rig about 9 turns is about right.
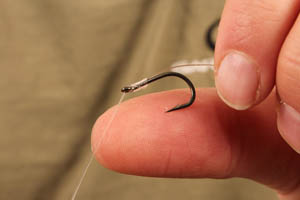
Step 2 – Put on a small Covert Rig Ring.
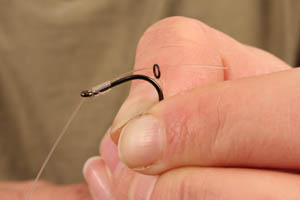
Step 3 – Create ‘D’ by looping the hair with the rig ring back through the eye of the hook.
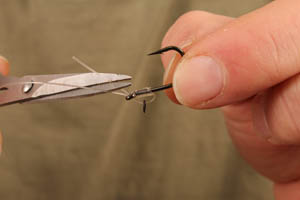
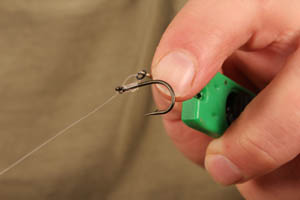
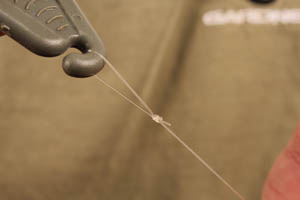
Step 4 – Use a lighter to carefully burn back the tag to create a blob of melted hooklink.
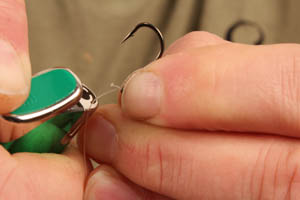
Step 5 – The D should look a little like this – small and neat and sitting straight on the back of the shank of the hook.
Step 6 – We recommend a well tied figure of 8 loop knot for quick attachment to swivels and clips.
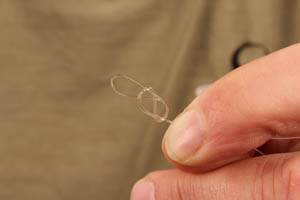
Step 7 – Always lubricate knots with saliva and bed sown nicely making sure the knot is string and secure.
Step 8 – The finished rig.
Another tried and tested bottom bait rig tweak involves lengthening the hair, and trapping it round to the bottom of the bend with a small piece of silicon tubing.
By changing the position of the hair the mechanics of the rig changes dramatically, and as long as the hook bait and the rig are taken fully into the mouth, as soon as the hooklink tightens the combined action of the weight of the hook and the heavy hookbait turns the hook point down into the most secure hooking zone – the middle of carps bottom lip.


Leave A Comment
You must be logged in to post a comment.