In my fishing and particularly with the rigs I use, it’s about creating a situation that has to tick certain boxes for me to be 100% confident in what I am doing and how I am fishing. The rig mechanics have to be spot on and work as they were intended to originally. I have seen a lot of rigs on the bank and published in the mags, that whilst will catch fish it is evident that with a tweak here and there, the rig would be so much more effective. Next time you cast out your rig, have a close look and consider what you are trying to achieve. Is the hook the best one for the job? Is the hooklink too stiff or not stiff enough for the mechanics of the rig to work properly? Is the rig the best option to use over a hard or soft bottom? It is very easy to fall into the trap of using a rig or baiting situation just because we have caught on it before and been successful. However, by standing back and taking the time to think through the process or the feeding situation will undoubtedly increase your catch rate. I can guarantee it.
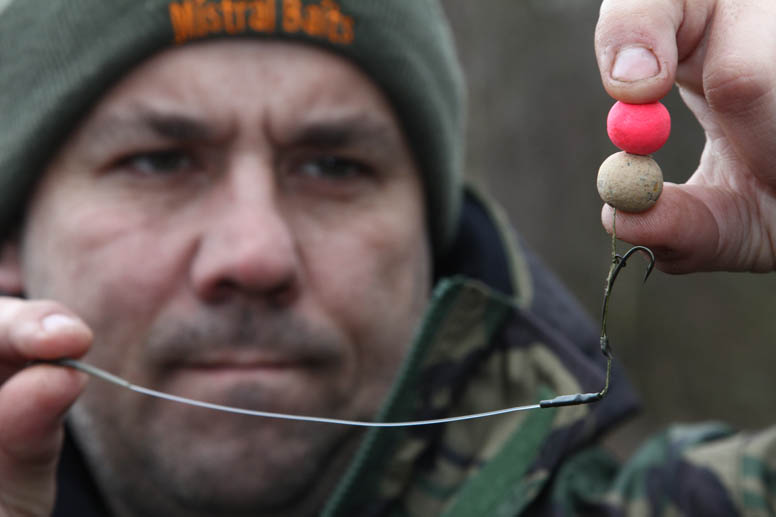
I’m going to run through one of my favourite rigs that has been successful on many waters, both in the UK and in Europe. It was a good few years ago that I noticed Tim Paisley was doing rather well in his fishing both here and around Europe. It wasn’t till a while later that he wrote about the rigs he was using. The one that took my eye was a long piece around 12 inches of 30lb amnesia from memory, which was tied to a ring, then a supple braid of around 2 inches and tied to a longshank style hook. A double bait, either a snowman or two bottom baits completed the set-up. As soon as I saw the rig, I got all the bits and pieces together and tied a few up. I was full of confidence and I started using it on one rod. It wasn’t long before I started catching on it and both rods were soon set-up with this particular rig.
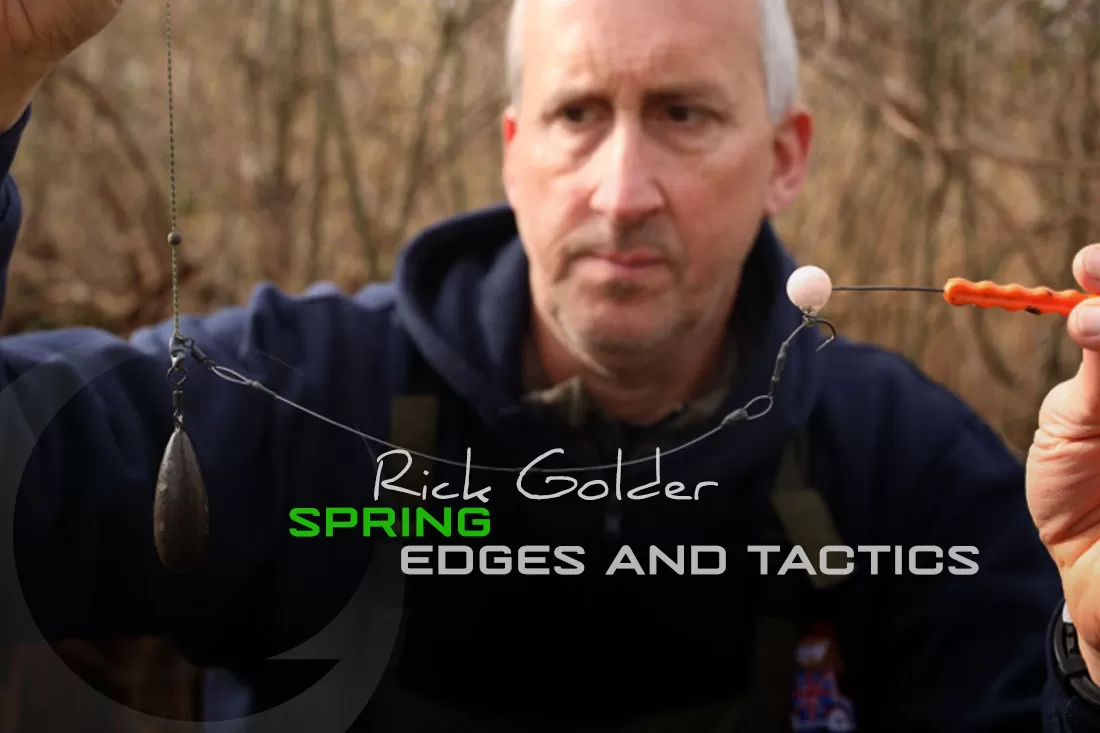
After using the rig for around a year, I showed it to a good friend of mine who is into rigs like I am. He seemed to think that we could make the rig even better by adding a degree of stiffness to it. After messing around with various materials we came across a 50lb stiff sea fishing line. We tied a few up using various knots, but it just didn’t look safe or robust enough to use. We then had a stroke of genius whilst looking through our tackle boxes for inspiration. We came across a set of pike crimps and just knew this was what we had been looking for. After crimping up a few rigs, the finished article was exactly how we wanted it to behave. The ‘Springy Rig’ was born.
The Mechanics Behind The Springy Rig
In my mind the reason this rig works so well it is such a mouthful with the double hookbait that the carp finds it difficult to get rid of it. Also the size of the Gardner Covert Longshank Mugga further enhances this mouthful. Couple this with the stiffness of the boom section, which enables the more supple section to move freely inside the mouth cavity. Even if the fish did try to ejct the hookbait, the size of the hook and the double bait makes it even harder for the fish to do so. Next we have to take into consideration whether the fish might be rise up in the water, move away or just shake it’s head once it realises there is a problem. This again is where the springiness of the boom section will be pull the rig back down towards the lake bed and further into the fishes mouth.
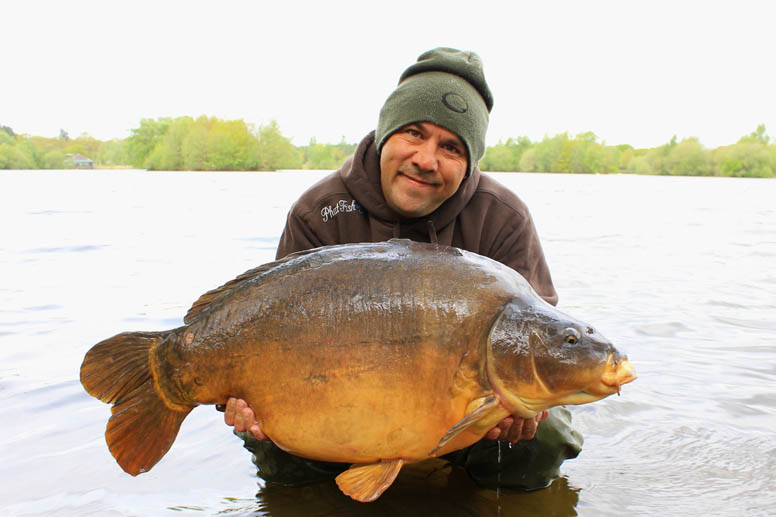
I’ve hooked fish in the top lip with this rig and I can imagine the bait and hook bouncing around in the carp’s mouth, making it near impossible to eject. The sharp longshank will get hold eventually and that’s what we want. No matter what happens, no matter how hard Mr carp is trying to deal with it this rig, it will work and take hold in all situations.
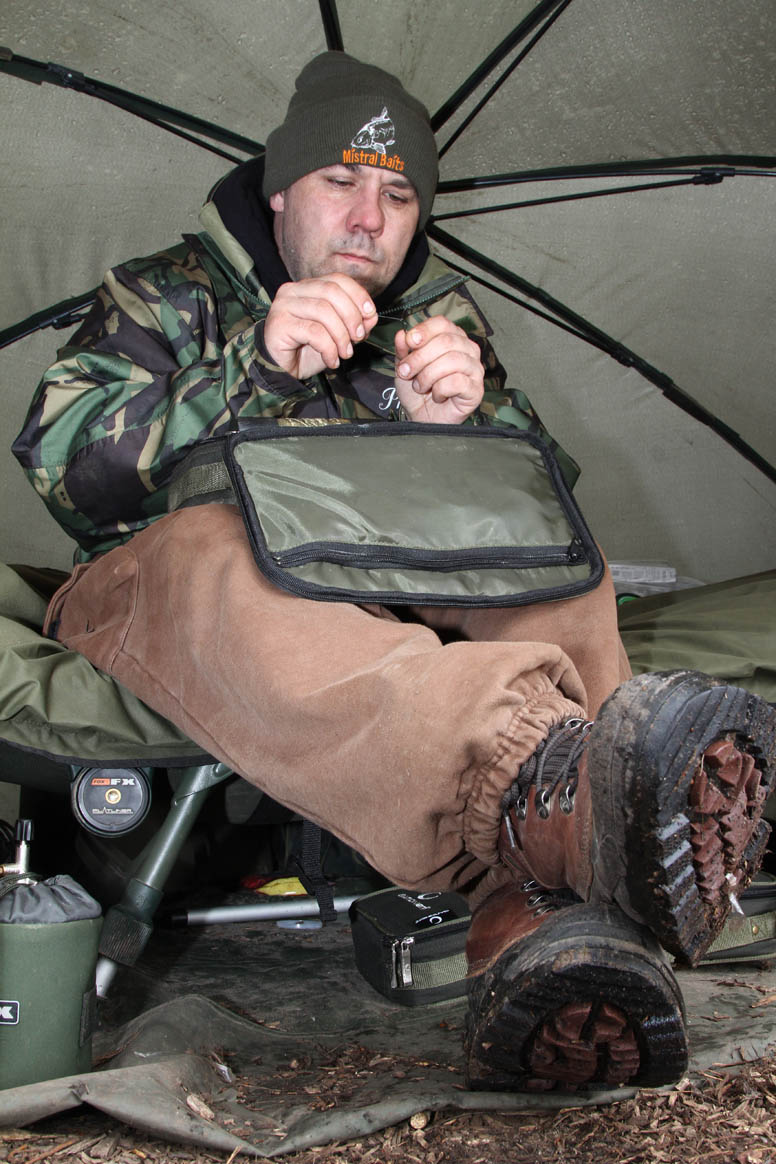
Making The Rig – The Boom Section
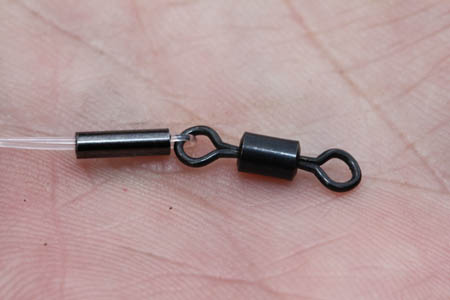
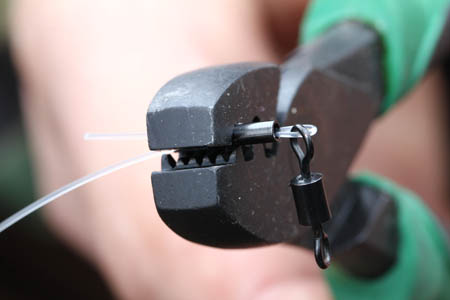
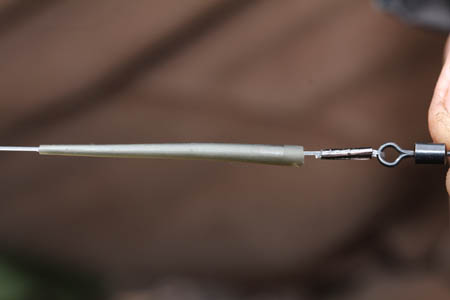
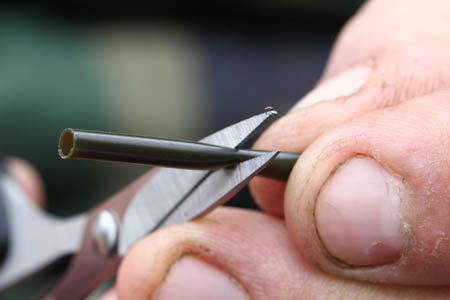
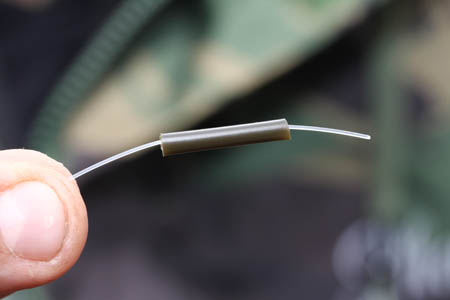
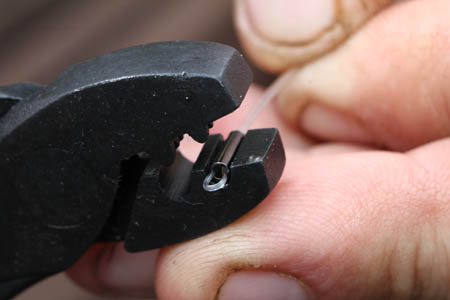
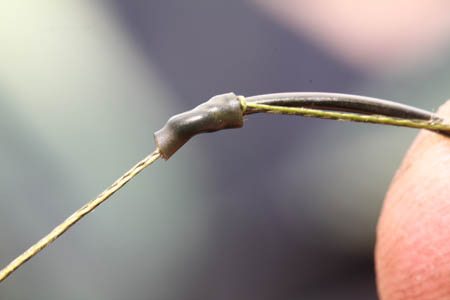
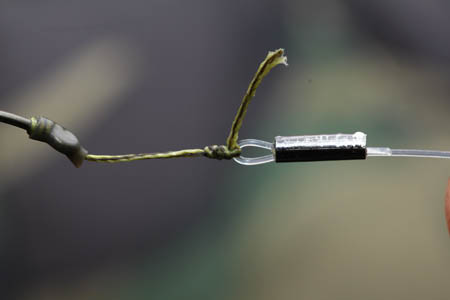
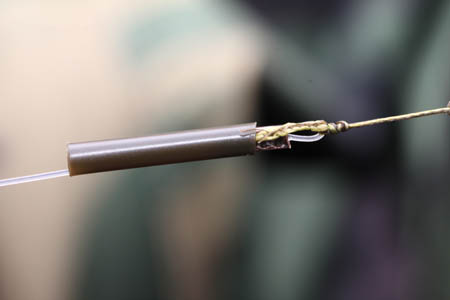
Firstly cut a length of the stiff boom material of your choice. I’m using about 12 inches of Gardner’s Sure Shock Shock leader in 50lb breaking strain. I have found this breaking strain to be just right for the boom section to be at its springiness. It’s also clear in colour and sinks like a stone. All I can advise is to mess around with different materials until you have something you are confident with. I then attach a barrel size 8 Covert Swivel at one end and crimp this until you are happy that it’s safe and secure. Next slip on a Covert Anti-Tangle Sleeve, which connects to the lead clip system. The boom section length is dictated by the lake bottom you I am fishing over. Where I am fishing today, the bottom is quite hard, so I tend to go with a shorter boom section. I have used section as short as 6 inches before, but the optimum length I have found to get that ‘spring’ in the boom is around 9 inches. The other end I fold over the boom creating a small loop, which I crimp and slip on a length of Covert Shrink Tube. I use just enough to cover the crimp, so I doesn’t cover the loop which may restrict the rig movement. It also protects the knot, makes it neat and tidy and most of all safe for the fish if it happens to rub along the fishes flanks during the fight. Now our boom section complete, lets have a look at the hook section.
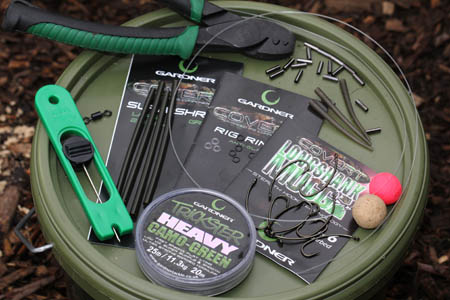
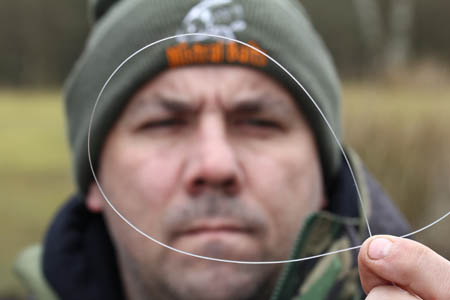
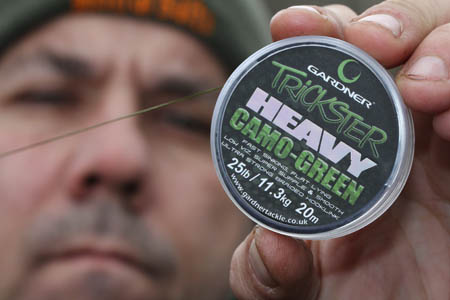
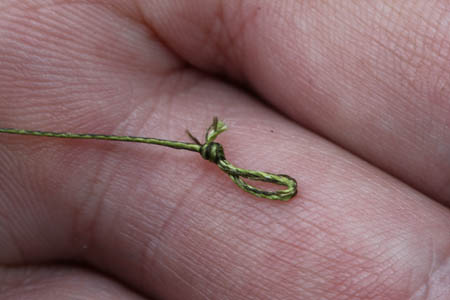
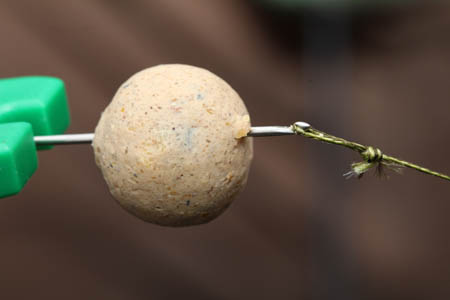
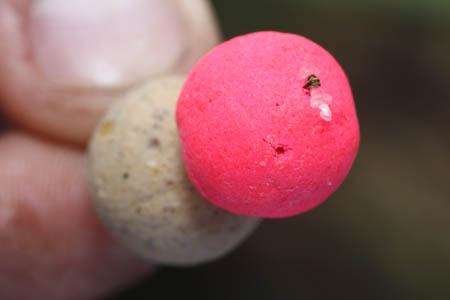
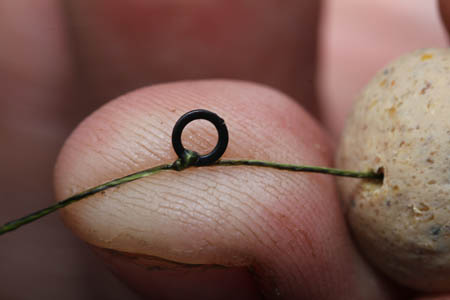
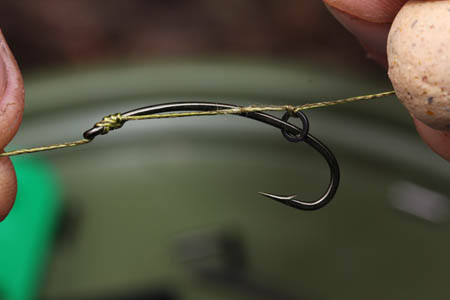
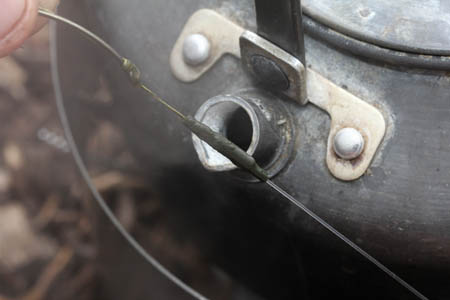
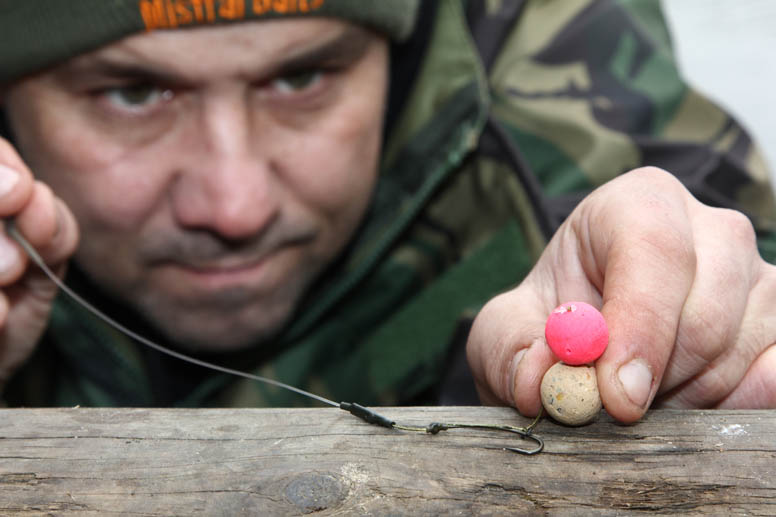
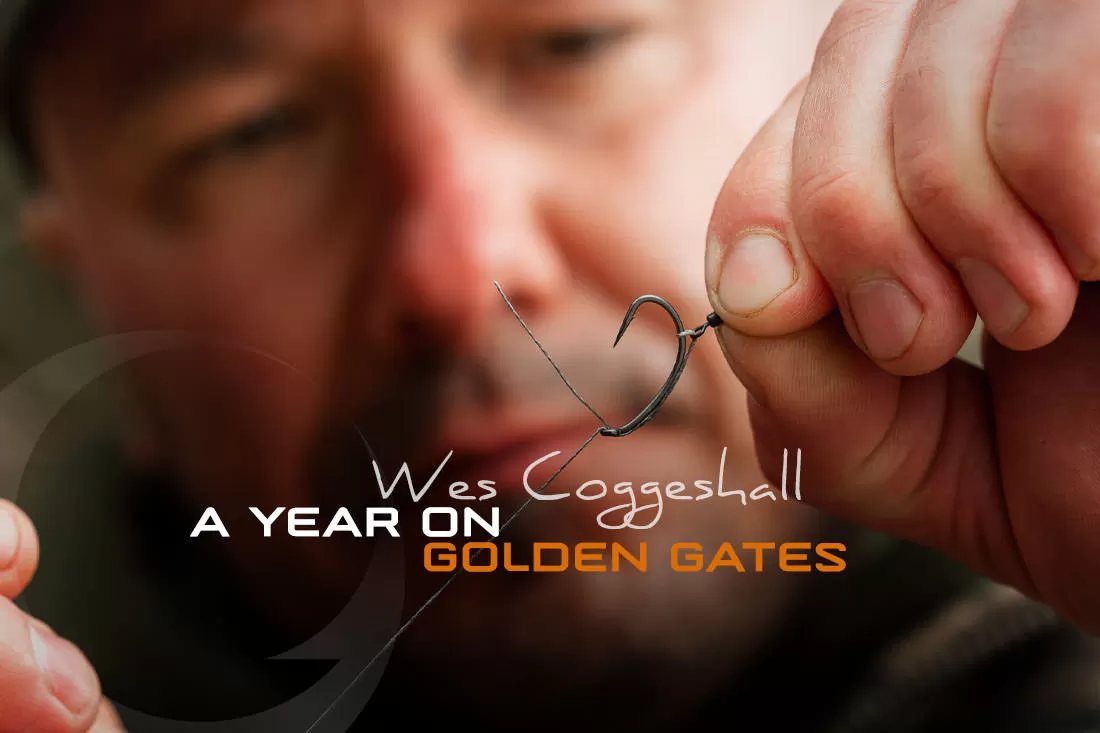
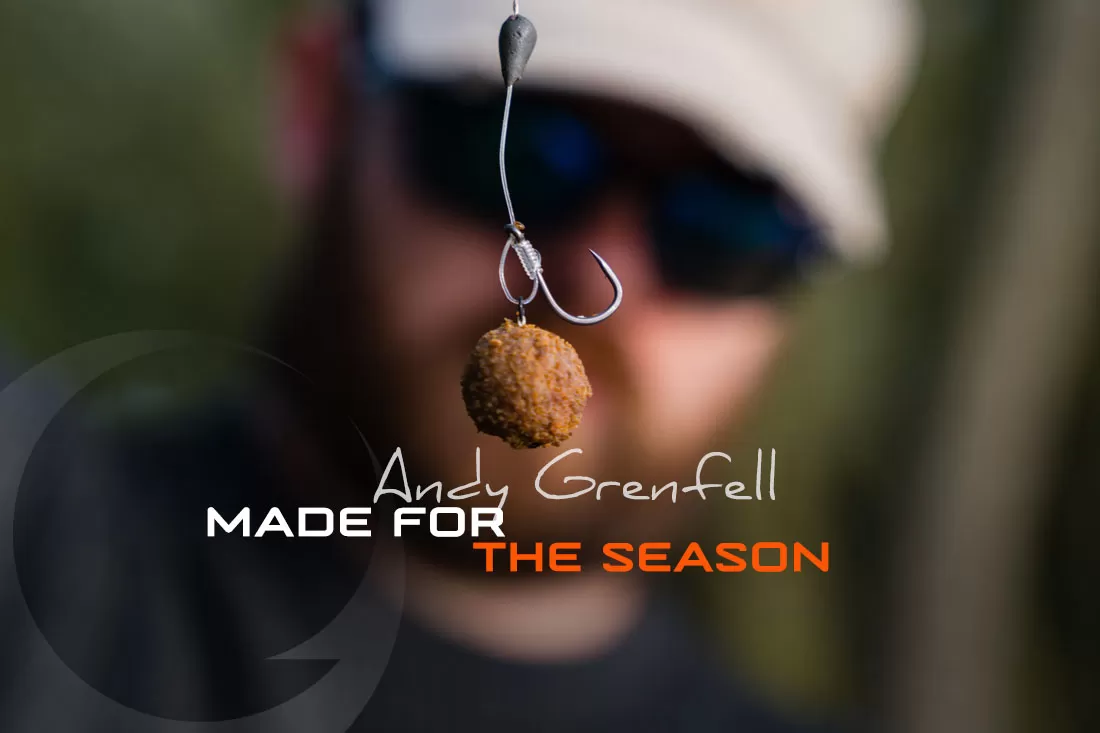
When using this rig I find it’s best to use a supple a braid as possible and it is important it sinks. I use Trickster Heavy in 25lb camo green as there is still weed around, even at this late stage in the year. To form the hook section I tie a small loop in a piece of the braid. I usually cut off around 6 inches to work with and attach the hookbait, whether this is a single boilie or how I get the best out of this rig is to use a double bait. Today I’m using a snowman presentation consisting of a standard 15mm ‘4Season’ bottom bait straight out of the bag tipped with a fluoro pink ‘4Season’ pop-up. I know the fish in here are partial to the colour pink at the moment. In the past I have used a stack of maize, which has worked well. It is worth remembering that the mechanics of the rig work most effectively with double baits or a stack of smaller baits, as it makes it harder for the fish to eject. Double baits, as a rule are something that many anglers don’t use these days. To get the perfect separation between the hook and bait, I always tie my bait or baits on first, which allows me to position the rig ring exactly where I want it to be on the shank of the hook. Next simply tie on a Covert Rig Ring and slip it onto a Covert Longshank Mugga. Position the ring by moving it up and down the braid until it is adjacent to the point of the hook, leaving around an inch to inch and a half hair length. This is the optimum pivot point for the hook to be driven home using the weight and size of the double baits if the fish decides to blow the baits out. Now tie a simple knotless knot and slip a small piece of Covert Silicone or Shrink Tube onto the eye of the hook. This is very important as it protects the eye of the hook from getting snagged in the net. This was a common problem with mouth damage using longshank hook patterns. Now tie a blood knot, leaving around an inch of braid between the hook section and the boom section. At first this can be quite tricky, especially if you have sausage fingers like myself, but with practice you can master it. That’s the springy rig complete, don’t forget to incorporate the safety aspect and fish care aspect of the piece of silicone over the eye of the hook and the shrink tube over the crimps, this is a must!


Leave A Comment
You must be logged in to post a comment.