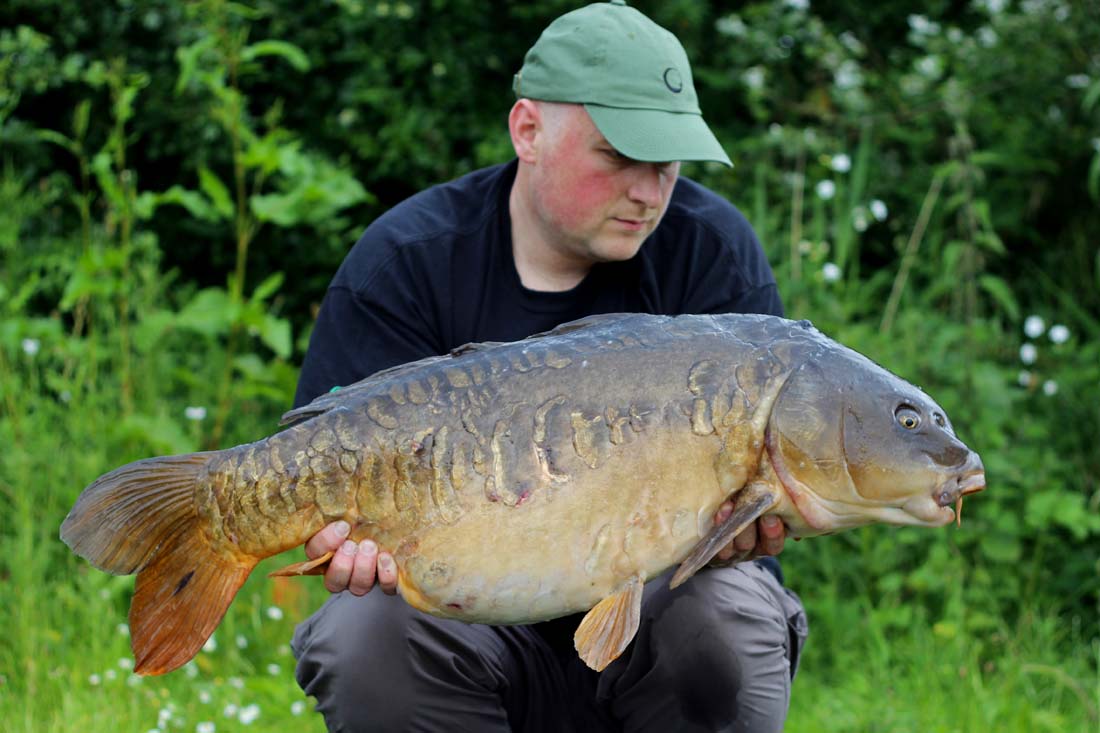
 Photography is becoming more and more popular amongst anglers these days. We all want the best possible shots of the fish that we catch and why not? We work really hard to get them on the bank at times! Social media pages allow us to see lots of great images, not just captures but inspiring scenic shots that make you want to drop everything and head for the lake! In this article I’m going to talk about self takes and I’d like to think that more anglers will gain the confidence to have a go after reading this. It’s very rare that I fish with anyone these days and I’ve had too many photographic disasters after grabbing the guy from the next peg for a capture shot, so it’s very important that I get good self takes when I bag one. Now I know that it’s a daunting task to many anglers out there but trust me, it really isn’t that difficult and it soon becomes second nature. Before long the only problem that you will have is how to politely tell someone that you don’t want their help with the pictures because you prefer to do your own!
Obviously your camera will need some kind of support. If you need to travel light there are two great options from Gardner; The Camera Adaptor screws into the base of your camera, there is a thread on the opposite end that fits into a bankstick. There is also the Camera Angle, this does the same but it allows adjustment via a ball joint – this makes levelling your camera a doddle! If you don’t mind carrying some extra weight it may be worth investing in a tripod, as always you can spend as much as you want but make sure that whatever you use is sturdy enough to prevent your camera hitting the deck when the wind blows! Some tripods have a hook at the base of the centre column, you can add some weight to this that really helps stability – a little bag of 5oz leads does the trick nicely! When I put my camera on the tripod, I like to set it so that it will be about level with the fish when I’m taking the shots – when I’ve had it set it higher or lower everything seems to look out of proportion which I don’t like.
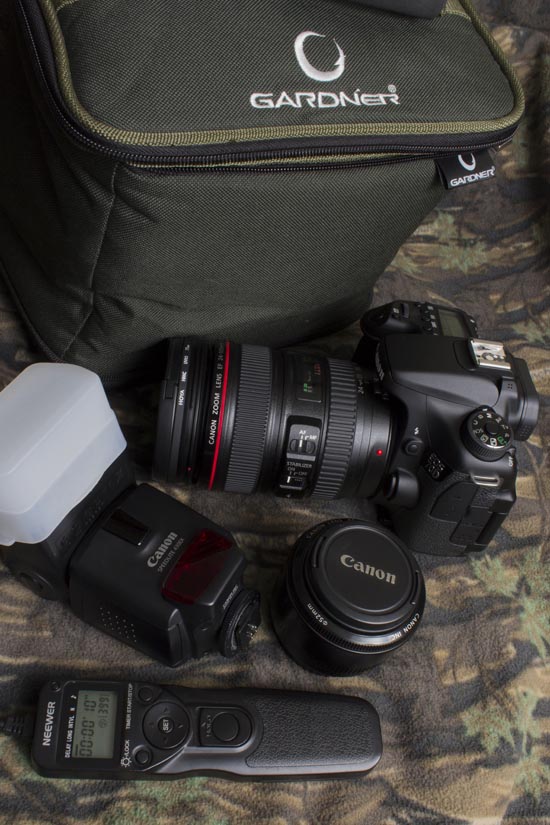
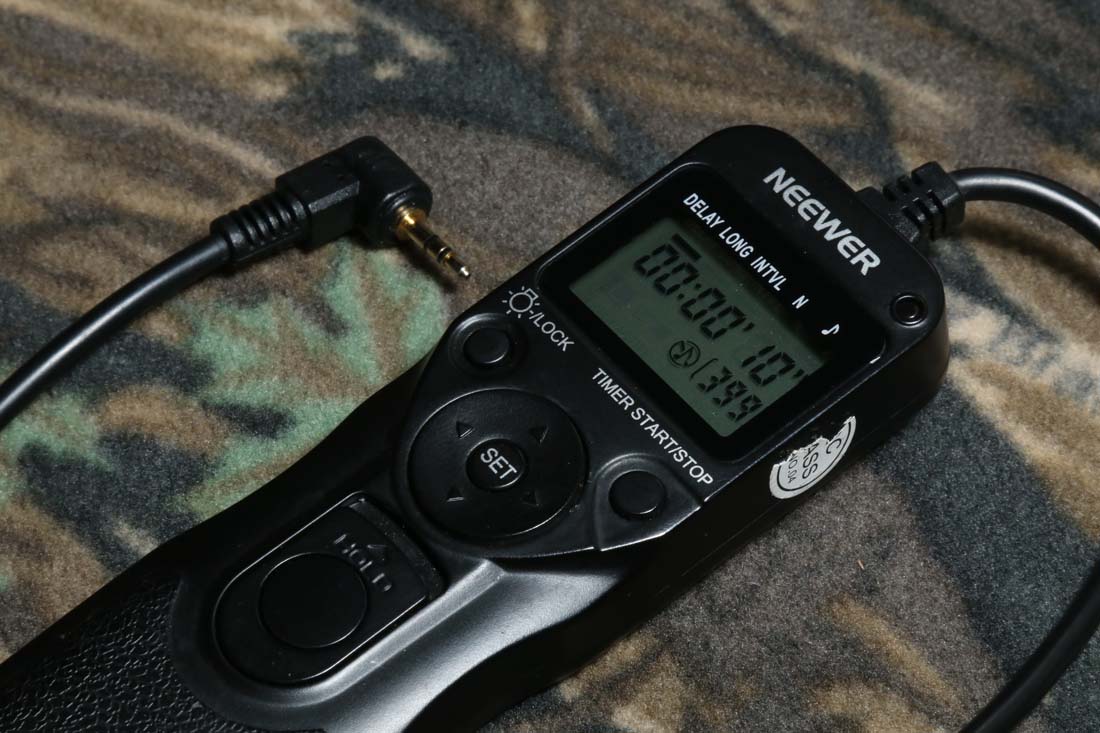
You’ll need some way of firing the shutter to take the shots, I like to use an intervalometer attached to my DSLR and you can buy these on Ebay or Amazon for about twelve quid, just make sure that the connector will fit your camera before buying. I can set this up with any delay before it tells the camera to shoot, I can choose how many pictures to take and the time between each shot. I set it to wait ten seconds and take a shot every five seconds then I just press the button to stop it when I’m happy. This is a great piece of kit that makes the job so easy, I’ve tried using a wireless remote to trigger the camera but I’m not keen on trying to hold it while I’m supporting a fish – it just doesn’t feel right! The intervalometer is also great for shooting time lapse sequences and long exposures, look them up and have a go!
So what about composing yourself and your capture in the shot while the camera is firing? Well some DSLR cameras have a flip round screen so that you can see exactly where you’re at in the frame, if yours doesn’t then don’t worry! As long as you have a smart phone you don’t need a flip round screen, you can install an application that will do the job for you. When I was using an old 400D a while ago (no flip screen) I downloaded the DSLR Controller app (by Chainfire) for my Android device. I found out that I could connect the phone to the camera with the original Canon USB cable and a Host Cable that fitted into my Samsung (a fiver off Amazon!). Once this was all linked up, I could sit my phone underneath the tripod on a bucket – every time the camera took a shot it would show up on the screen then I could simply shuffle left/right etc. before the next shot was taken. Don’t forget to put your phone into flight mode before shooting, a call that interrupts you is really annoying! I believe that there are applications very similar for IOS users so have a look if you have an Iphone. The application was a real game changer for me at the time, check out my video on the GT YouTube channel to see the exact setup in action!
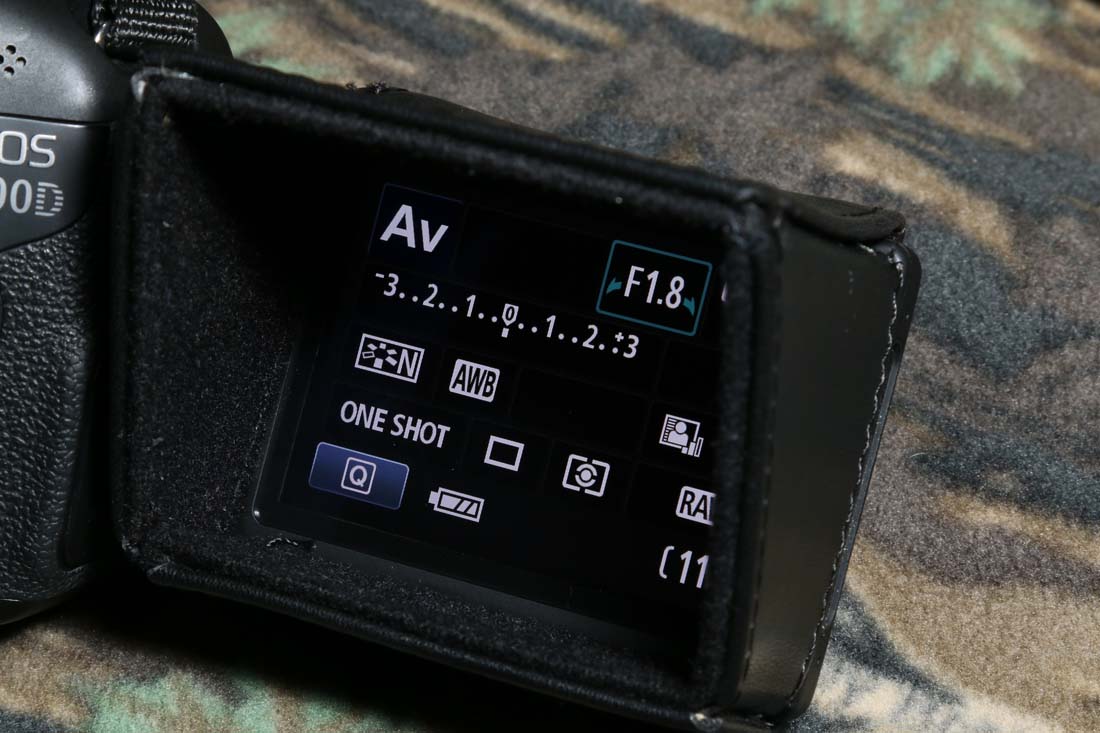
I like to use AV (aperture priority) mode for my capture shots. In this mode your camera will automatically choose the best shutter speed to get the correct exposure, if the light changes in between each shot it’s no problem. Shooting in manual could result in some shots being over or under exposed, you can’t adjust settings while holding a fish! I’ll often use a 50mm F1.8 lens, a wide aperture means you can really blur out the background. The depth of field is so shallow even at F2.8 that the fish will be super sharp and my face will be slightly out of focus, the background will be completely blurred and I really like the effect that it gives. These lenses are really cheap too, I think I paid around seventy quid for it. I keep the lens set to AF (auto focus) select F2.8 in AV mode and I’m good to go with the self takes. Another lens that I really like using is my 24-105mm F4 L, this is a pro lens that is an absolute dream to use and it’s attached to my camera pretty much all the time. It’s a little more expensive than the ‘nifty fifty’ though!
Practice with an imaginary chunk until you are confident with the setup and how it all works. Allow your capture to rest in the net or in a retainer while you set it all up, it doesn’t take long when you’re used to it. Make sure that you’re going to be lit properly when the shots are taken, dappled sunlight that comes through trees is a big no no, shade or full sun is best but watch out for tripod shadows! In low light or at night a flash will certainly be needed, I use an external flash that slides into the hotshoe on top of the camera – they’re far better than the built in popup flashes in my opinion. Sometimes I may use a small amount of flash to fill in some shadows in daylight. When buying look for a flash that has an automatic mode like Canon’s TTL (through the lens), this means that the flash will work out it’s own output to get you the best exposure, meaning you don’t have to do it! When you bring the fish to the unhooking mat it should already be the correct distance from your camera, a wet sling should be zero’d so give it a quick weigh and simply press go on the intervalometer. Don’t rush – cock-ups can be deleted later! Look after the fish as usual, keeping it wet with lake water from a nearby bucket etc. Let the camera do its thing and check the shots as you go, as soon as you have the shots that you want get the fish safely returned.
It may not be plain sailing for you, I have run into a couple of problems while doing self takes and here’s some info will help you to avoid them. The main one is focus, if you’re using ‘live view’ on a flip round screen your camera doesn’t use it’s focus points in the same way. My 600D uses a square in the centre of the screen, it turns green when focus is found and the camera will take the picture. However I’ve found that if this square covers part of the fishes back and part of my chest on the camera’s screen, it causes some confusion and the camera can’t find focus. You can be there holding the fish waiting for the shots to be taken and nothing happens! The solution is simply to move the focussing square using directional buttons on the back of the camera, move it down a little from centre to ensure that it will cover the fishes flank then you’ll have no trouble. My 70D’s focussing system is more advanced and it hasn’t given me any trouble, so it depends on what camera you have. If you are really struggling you can shoot without live view and simply use the flip screen to review each shot after it is taken, move after each if you need to.
Bright sunlight can be a right pain in the rear end when you’re trying to look at the screen on your camera to check the shots. I had a look around and found a solution, type ‘JJC camera screen shade’ into the search bar on Amazon and you’ll see it. This little sun shade attaches really easily with Velcro and you don’t need to stick anything on to your camera permanently like you have to do with others that are sold online. I find this really useful for video work as well as doing self takes when it’s difficult to see because of reflections. The material that it’s made of allows it to fold almost flat when it’s not in use so it takes up very little space in the camera bag.
Darkness can throw a spanner in the works too at times. By the way my setup for the self takes is pretty much the same but I don’t bother using a wide aperture to blur the background, you can rarely see it anyway at night. If there isn’t enough light your camera can find it very hard to focus. I’m not keen on doing shots with my headlight on but I do use it to put some light on to me and the fish when I’m ready to do the shots, I just turn the brightness down on it and put it on the floor facing in my general direction (out of the shot!). The camera will find focus without a problem and when the flash fires, you’ll see no trace of the headlight on you or the fish.
There we go, I hope this has been useful for some of you! I was going to go into much more detail about equipment, camera modes and settings and what affects they have in your pictures but this article could end up being five thousand words! If you really want to learn about photography, get yourself on to YouTube. There are huge numbers of tutorial videos on there that will help no end, to be honest I think I’ve watched most of them! When you know your camera and it’s settings inside and out, get practicing! Before long your results will be consistent in any situation and your album will be bursting at the seams with stunning images! Be sure to get in touch if you have any questions about the self takes setup, I helped quite a few people through messages on Facebook after the YouTube video was uploaded a while back and a few more won’t hurt! Until next time!



Hi, I just stumbled upon this article whilst looking at self take options for my up coming french trip considering the air bubble thing but after reading your article and realising that my NIKON D5100 has an in built intervalometer and a flip round screen i think i’ve found the perfect solution. i have ordered the amazon one as well so got choices. also just realised about moving the live view focus square” only had the camera for 3 years and never knew i could move it” so all i wanted to say is thank you for a truly useful article that i know is defo going to help me..
Hi, great article,just brought timer gadget off amazon. I have a Panasonic bridge camera and it has a screen which you can flip round for self takes, so probably a bit less complicated to set up, cheers.