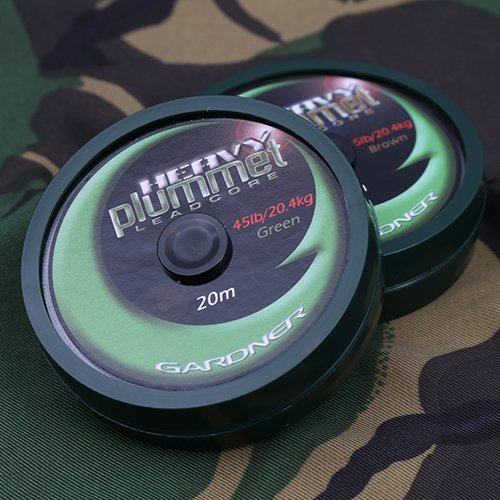
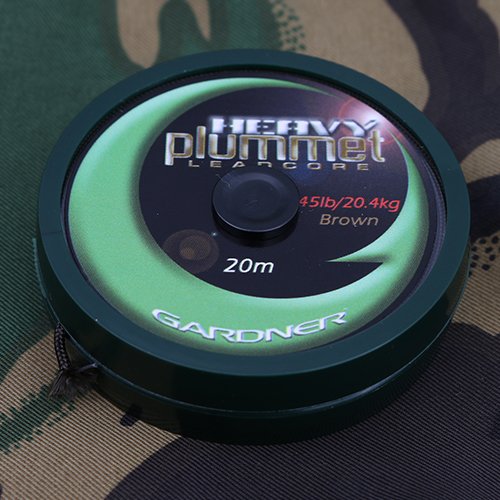
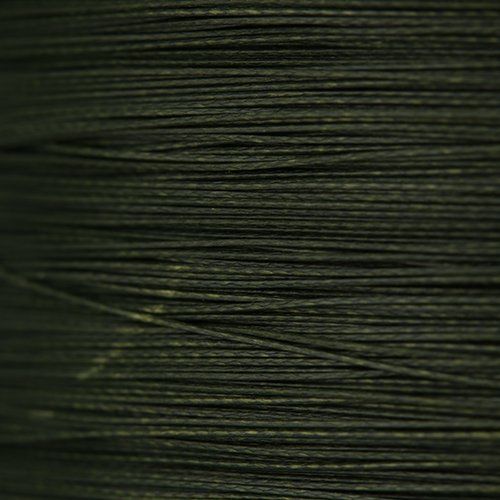
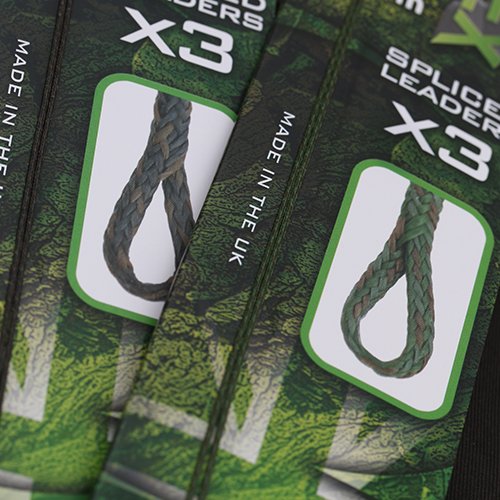
Plummet Leadcore is the No.1 choice for anglers that need the advantages of a fast sinking leader, but want a subtle and refined leadcore that offers unrivalled density and strength for its diameter.
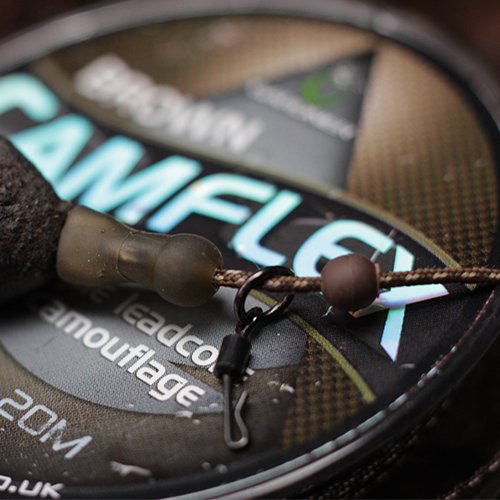
With a good, tight weave to minimise the protrusion of its core, Plummet is still very easy to splice and is perfect for camouflaging line near your terminal tackle.
- Diameter: 0.75mm.
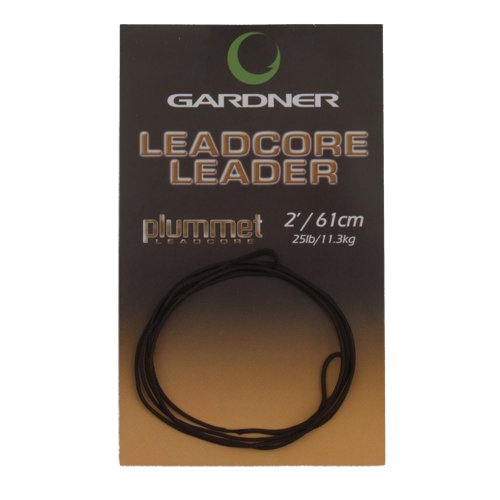
- Available in 3 lengths: 2ft (61cm), 3ft (91cm) and 4ft (121cm).
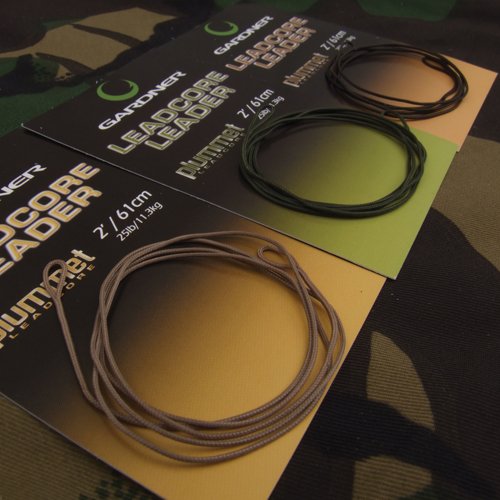
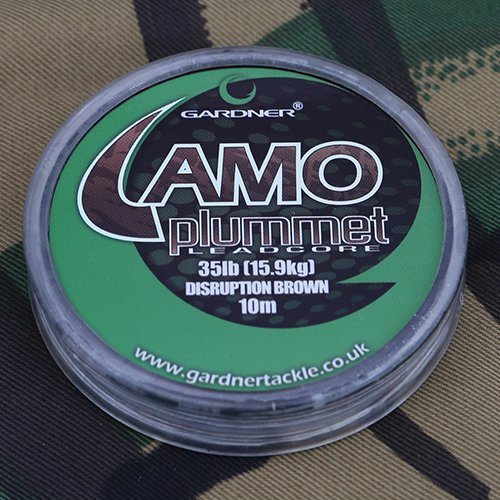
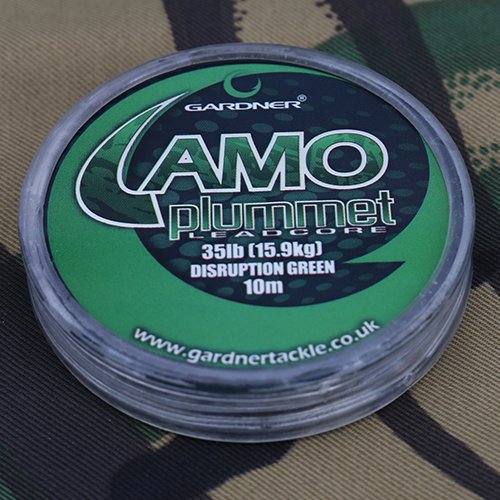
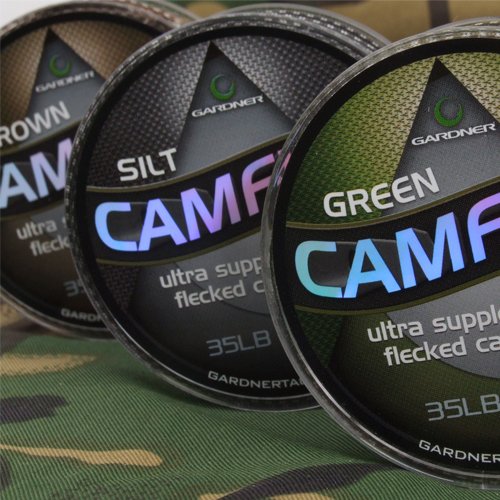
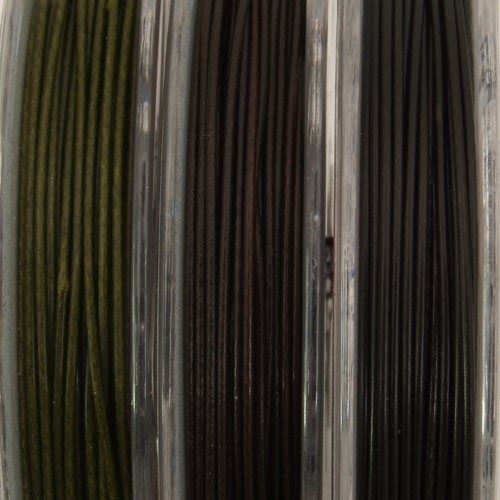
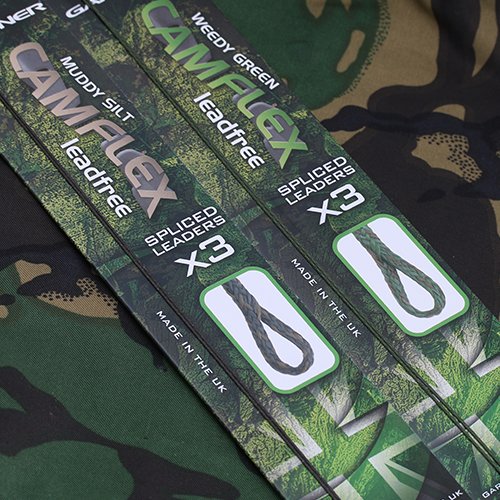
- Available in 3 colours to suit all lake beds and angling situations.
The original Mud Brown colour is a fantastic ‘go anywhere’ leadcore leader – visually subtle over whatever type of lake bed. The Weed Green colour blends in extremely well in freshwater situations, being the perfect colour to match the most common varieties of weed and algae. The Sand colour is perfect for fishing over clean gravel, sand and clay bottoms and also popular amongst many anglers for being the perfect ‘canvas’ to doctor with permanent markers for uniquely customised camo leaders.
How to Splice Leacore
- What you need…
- In this instance we are using the new CamFlex Leadcore.
- Step 1 – Strip out approx. 4 inches (10cm) of lead wire from the centre of the Plummet or CamFlex Leadcore leader material.
- Step 2 – With the braided material pulled back over the lead wire feel where the lead wire finishes (it should be 4 inches from the end!).
- Step 3 – Insert the hooked end of the Splicing Needle in where the lead wire finishes.
- Step 4 – Once in place carefully thread the end of the splicing needle down the hollow core of the leader.
- Step 5 – Push the end of the needle out through the side of the leadcore material half way up towards the end as shown.
- Step 6 – Pick up the very end of the leadcore using the gate latch on the splicing needle. If you keep the section short as shown it will be easier to pull back into the hollow section
- Step 7 – When you tease the leader material back through the hollow sheath be gentle and don’t twist the needle (or it may snap) and push from the base upwards as this opens up the braid.
- Step 8 – When you have successfully pulled the material through the side wall continue pulling it gently back down through the hollow braid as shown.
- Step 9 – Once the core has been threaded through the outer sheath (before you have pulled everything tight to create a strong friction join) your splice should look like this.
- Step 10 – Run your fingers down the splice (away from the loop) to smooth and lay out the outer sheath. This will normally hide the end of the inner section as the splice elongates.
- Step 11 – Using a baiting needle tension the splice, by pulling on it, to finally set the splice in position.
Reviews
There are no reviews yet.